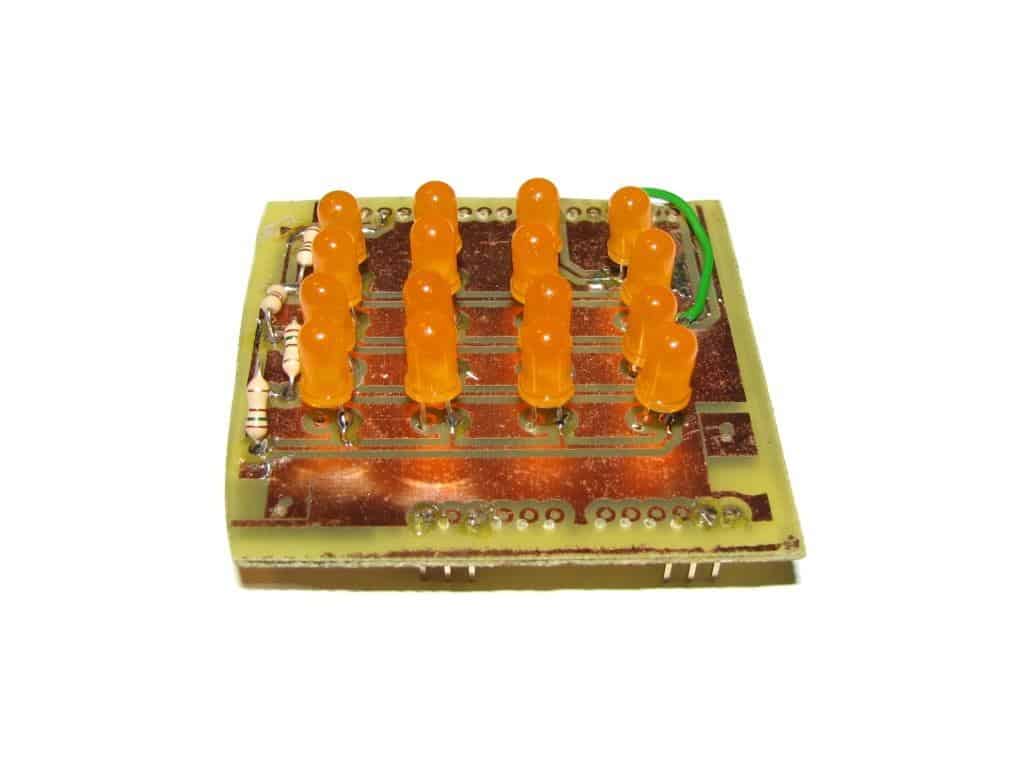
In this Arduino shield tutorial, I will show you how to create a 4×4 LED matrix Arduino shield. You can make any shield you want using this method.
The tutorial consists of three videos:
- How to plan and create schematics
- How to design a circuit board
- How to get prototype circuits made

Planning and designing schematics
In this video we start with making a block diagram to get an overview of the project we are about to embark on. Then we’ll draw the schematics for project.
We’ll use SparkFun’s eagle library to find a nice template for the shield.
Designing the circuit board
Designing the circuit board is pretty simple once you have the schematics in place. In this video we will draw the circuit board layout.
Ordering cheap prototypes
Once we have our circuit board design ready, we’ll send it to a prototype manufacturer to get some cheap circuit boards made for us. In this video, we will check that the board is ok and then send it to our manufacturer.
Making circuit boards is a crucial skill if you want to make something cool with electronics. For this reason, I have created an online course on how to make circuit boards. By enrolling you will support me in developing even more awesome content on this site.
Return from Arduino Shield Tutorial to PCB Design

10 Simple Steps to Learn Electronics
Electronics is easy when you know what to focus on and what to ignore. Learn what "the basics" really is and how to learn it fast.
More Arduino Tutorials

Free Course: Blinking a Light
Join my free email course on how to build a circuit that blinks a light. Enter your details below and you'll receive the first lesson right away:
1 thought on “Arduino Shield Tutorial – Make Your Own Shield”