A common decision to make for hobbyists and inventors is Kicad vs Eagle.
Both of them are decent programs for designing your own Printed Circuit Boards (PCB).
And both are very popular.
But if you’re just starting out, which one should you choose?
After six months of testing, I am finally ready to give you the result.

Background: Why I wanted to compare Eagle and Kicad
I’ve been using Eagle for many years, and not really given much thought to Kicad. Eagle worked for me.
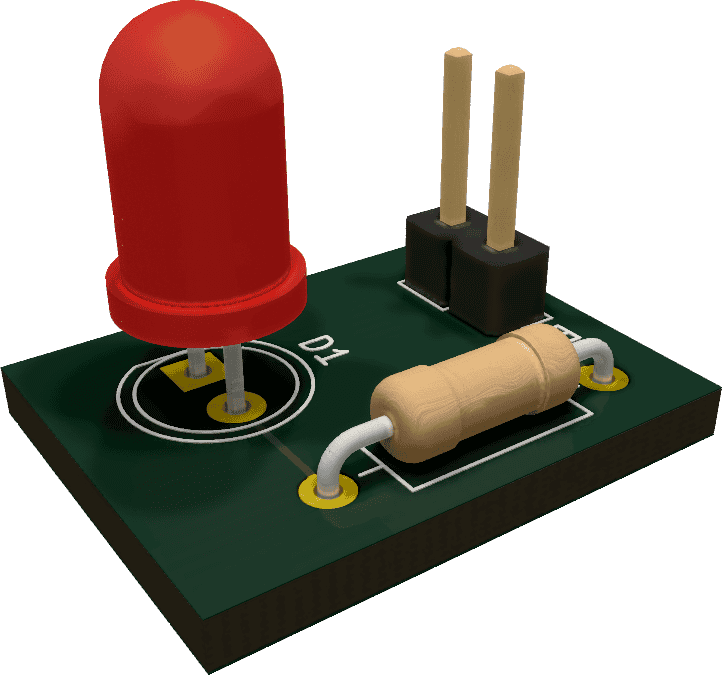
Make Your First Printed Circuit Board
Download my guide with all the steps you need to design your first printed circuit board (PCB) from scratch.
But last summer I was hired to do some work on the electronics for the coffee roaster RØST.
In this project, my friend Jensa, an avid Kicad user, had developed the first version of the circuit in Kicad.
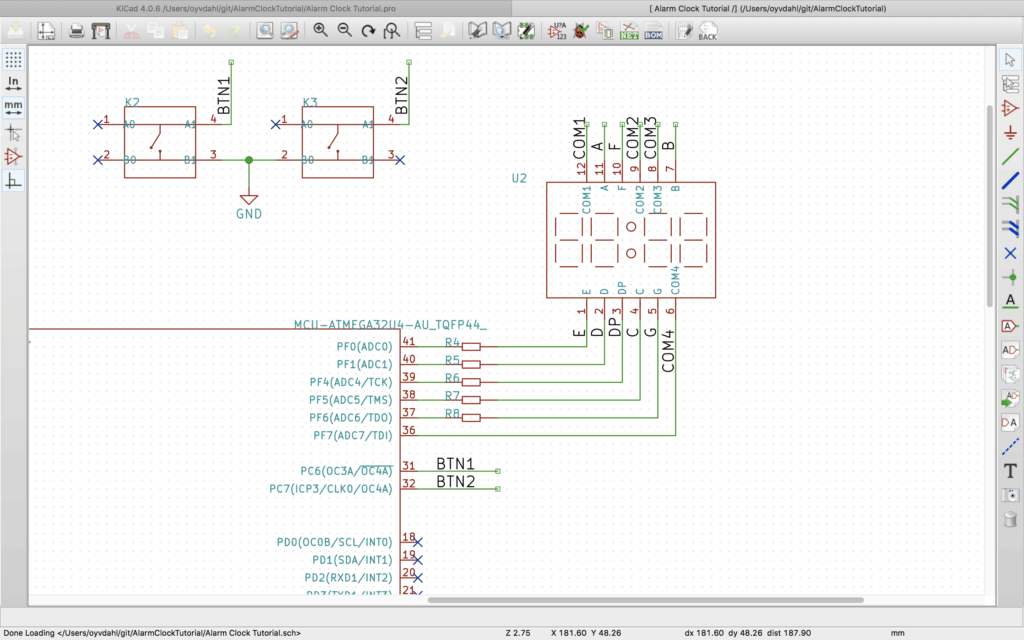
So I had no choice but to try out Kicad.
And I realized – going from Eagle to Kicad wasn’t really a big problem.
After finishing that project, I was hired for another project where they also used Kicad.
Now I have worked with Kicad for six months, and I decided I had a good background for writing a Kicad vs Eagle guide to help beginners make a decision.
Kicad vs Eagle – Price
First, let’s get price out of the way.
Kicad is free and open-source. Volunteers have created it.
You can download Kicad and use it in any way you want, without ever paying. You can even download its source code and modify it to your likings (if you have some coding skills).
Eagle is owned by Autodesk.
Eagle has both a free version and a paid version. You can download Eagle for free, with these restrictions:
- 2 schematic sheets
- 2 signal or plane layers
- 80 cm2 (12.4 in2) board area
…but many hobby projects will be well within the limits of these restrictions.
If you need a more powerful version, it starts at $15/month, which I think is a fair price.
User interface comparison
I think both Eagle and Kicad are similar when it comes to the “look and feel”. None of them are going to win a design award, but they both look okay.
Kicad has a set of keyboard shortcuts for doing standard tasks like rotating a component or drawing a wire.
Eagle does not. And I find that disappointing. You can add your own keyboard shortcuts though, so it’s not a big problem. But as a first-time user, you just want something that works out of the box.
Worth noticing is that Eagle has a command line tool where you can type in commands. I tried it a few years ago and you can read about it here: My Experience With Using the Eagle Command Line
Eagle Quirks
Eagle used to have a really weird quirk with two tools called Wire and Net tools. But they’ve finally fixed that. Well done Autodesk!
One quirk in Eagle that is not intuitive is Moving a group of components.
When it comes to user interface, I must declare Kicad the winner.
Eagle lost here mainly because of the “Move group” quirk, and the fact that it doesn’t have any default keyboard shortcuts for standard things like rotating and drawing wires.
Organizing components – simple vs complicated
A component library is a library of components that you can use to design your circuit.
A component must have a symbol that you can use when designing the schematics. And it needs to have a footprint with pads and holes that will be created on the PCB for soldering the component.
Both Eagle and Kicad come with libraries that have the most popular components included.
And both let you design your own components and libraries.
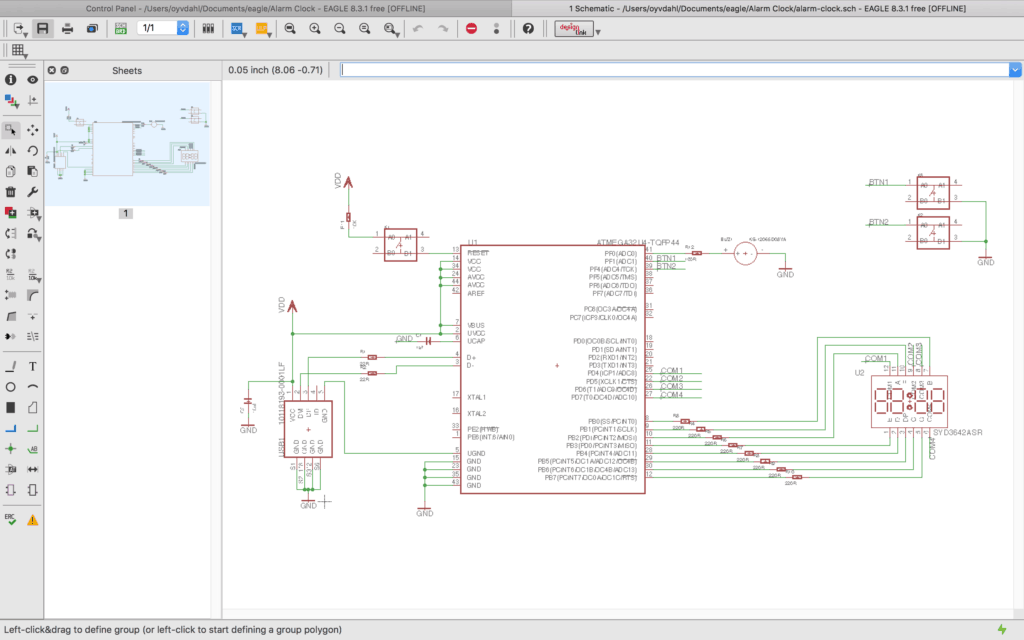
Eagle’s handling of component libraries is pretty straight-forward. A library file includes everything. The symbol for the component and the footprint alternatives you have for this component.

Kicad, on the other hand, is a bit more confusing.
There you have one library for symbols. And another one for the footprints. And it’s a little bit confusing how to choose which libraries you want to use. This is a bit of a hurdle in the beginning if you are learning Kicad.
When it comes to component libraries, I must declare Eagle as the winner.
The design process: One MAJOR plus
In Eagle, here’s how you design a PCB from scratch:
- You create a schematics
- You choose components (and which footprint to use for the component)
- You place the components and connects the circuit like you want
- You click on the “Generate Board” button
- Now you have all the footprints for your board in a pile, and you can start placing and connecting them.
- If you have to change something in the schematics, you do that, and the changes will also happen on your board.
It’s pretty straight-forward.
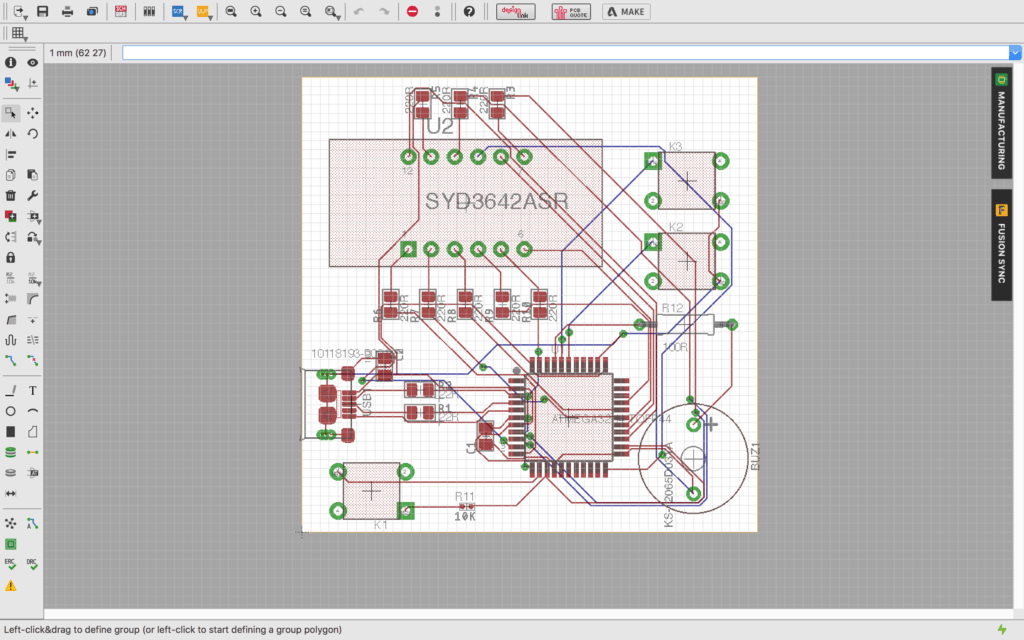
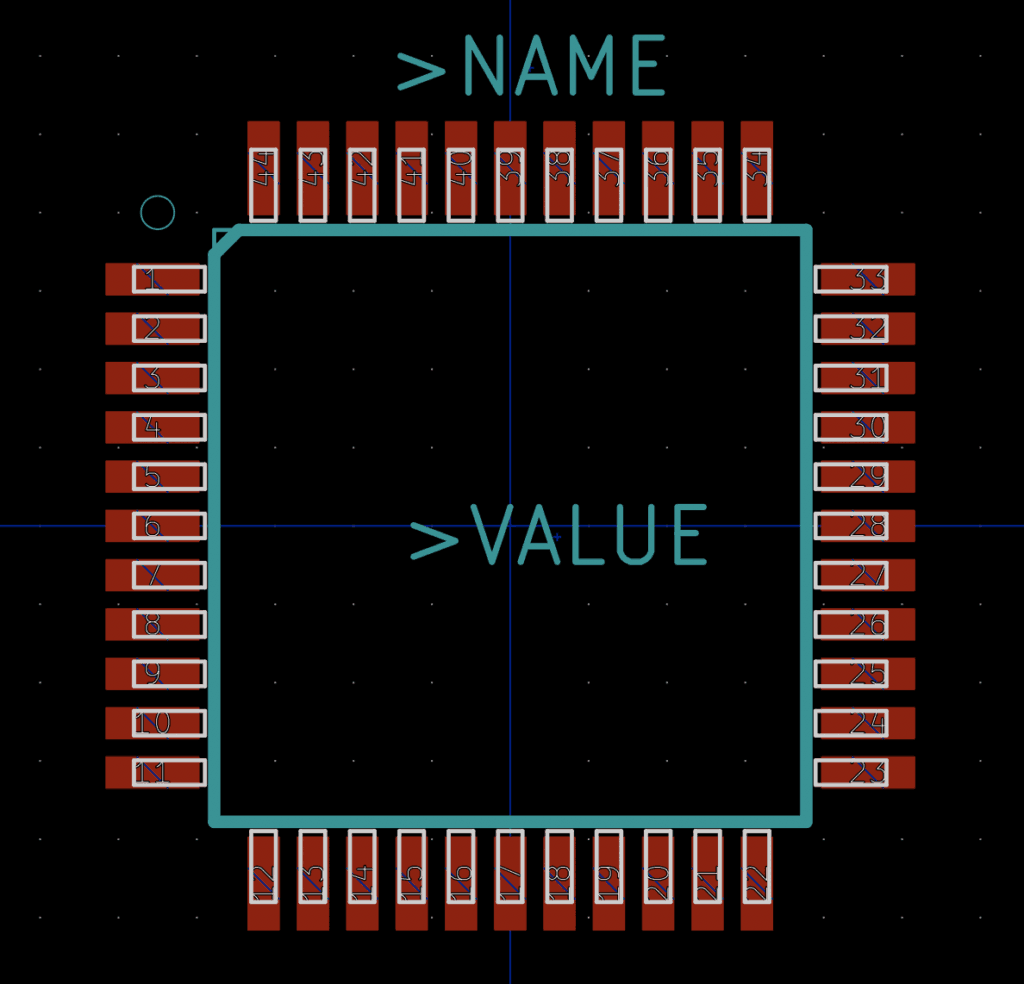
In Kicad, there are a few more steps.
First, instead of choosing which footprint you want to use when you choose the component, you choose footprints for all the components at the end.
Second, the components do not get a proper name until you run the “Annotate Schematics” command.
Third, you have to run a “Create Netlist” command, then load this netlist into the board designer for creating the board.
These steps make Kicad seem more complicated when starting out. But after you’ve done them a few times, it’s not really something you think about. But Eagle definitely gets more “beginner-friendly” points here.
Kicad’s Secret Weapon
One major plus of the design-process of Kicad is its built-in 3D viewer.
When you have designed your board, you can press Alt-3 and your design pops up as a 3D model.
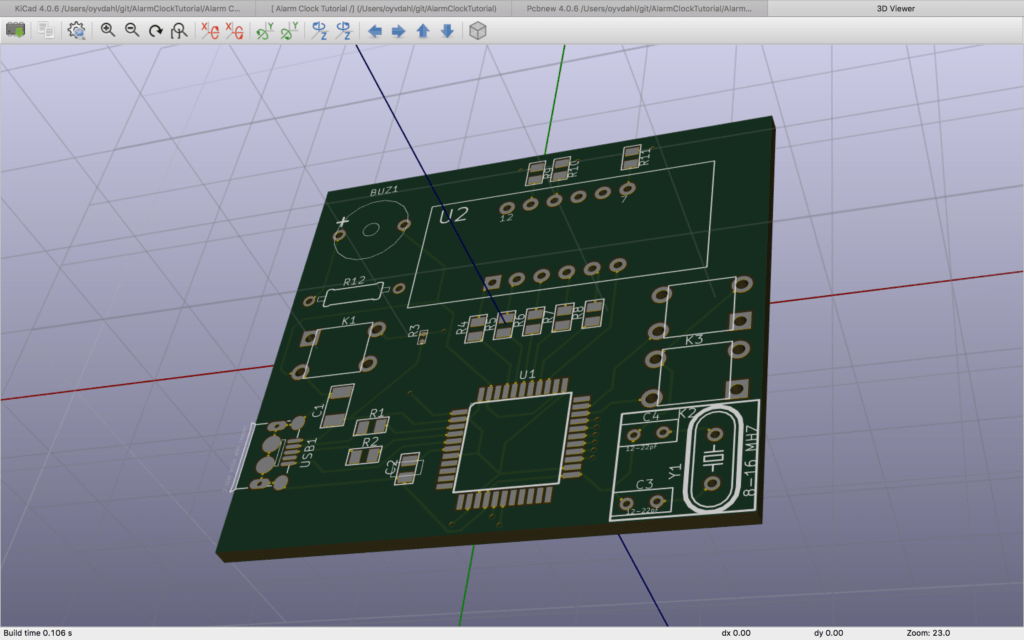
I’ve found this to be extremely useful. When you look at your design in the board designer, it’s hard to get a good understanding of size and space. Looking at the board in 3D makes it much easier to realize that maybe it wasn’t such a good idea to place the connector there…
Eagle does not have a 3D-viewer. But they are planning to add integration with Fusion 360 in the future. I have never used Fusion 360, so I prefer the Kicad-way where it is just integrated into Kicad.
Despite a few extra steps in the design process of Kicad, I have to declare Kicad as the winner because of the integrated 3D view function.
A note if you’re a Mac user:
When I tried Kicad on my new MacBook Pro in the summer of 2017, it was extremely slow in the Schematics view. For example, zooming in took 2-3 seconds for each level. So it was totally useless.
I googled it, and it seemed to be that Kicad was not optimized for the high-resolution retina displays.
Now, this seems to have been fixed/improved though. It’s not as smooth as Eagle on the Mac. But it’s good enough so that I don’t think of it as a problem anymore.
Conclusion: Should you choose Kicad or Eagle?
So…
Kicad vs Eagle, which one is best?
Well, Eagle and Kicad are pretty similar in many ways.
You can design simple circuits on both. And you can design advanced circuits on both.
When I started using Kicad about six months ago, I never thought this would happen. But right now, in all my projects I am using…
…Kicad!
Mainly because of the default keyboard shortcuts and the 3D viewer in Kicad. This might change in the future again, but right now I am very happy in Kicad.
If you are a hobbyist, an inventor or a professional user, both Eagle and Kicad will work very well for you.
I can’t really say that one is “better” than the other. Eagle might be a little bit more intuitive to start out with, but I find myself being more effective in Kicad.
What do YOU think?
I started on this “Kicad vs Eagle”-guide several months ago. But I realized I needed more time to get a good foundation for a Kicad vs Eagle comparison. Now it’s 2018, and with 6 months of testing, I was ready.
But now I want to hear from you: What are you using? Eagle or Kicad? And why?
Let me know in the comments below.
More KiCad Tutorials
Make Your First Printed Circuit Board
Download my guide with all the steps you need to design your first printed circuit board (PCB) from scratch.
