Hey there! Would you like to build your own amplifier?
Have you tried finding schematics for a really simple amplifier but found that it’s not that simple after all?
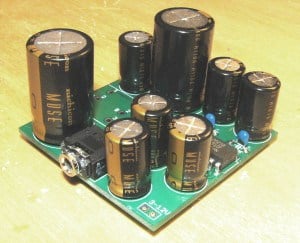
Either you find that it’s only an amplifier for headphones (who needs that??) or it’s just a part of an amplifier (you have to add a pre-amplifier) or maybe you found something that look ok, but then you realize you need to have a heatsink and you have no idea how to find that…
Well, that was some of my past experiences. I remember building one from a kit at the University of Sydney once. It had to be fine tuned. I had to use an oscilloscope to measure all the parts and then fine-tune it use small pot-meters. I eventually made it work, but as soon as I brought it home, the fine-tuning was screwed up so that I it didn’t work anymore. It was suppose to be a good amplifier. But I never actually got to use it, because I was afraid it would break if I touched it.
Sometimes I have found circuit diagrams that seemed really simple, but when investigating them more, I found that it was only a mono amplifier or maybe it was only a pre-amplifier or an amplifier for headphones. All the “proper” stereo amplifiers seemed just too complicated to build.
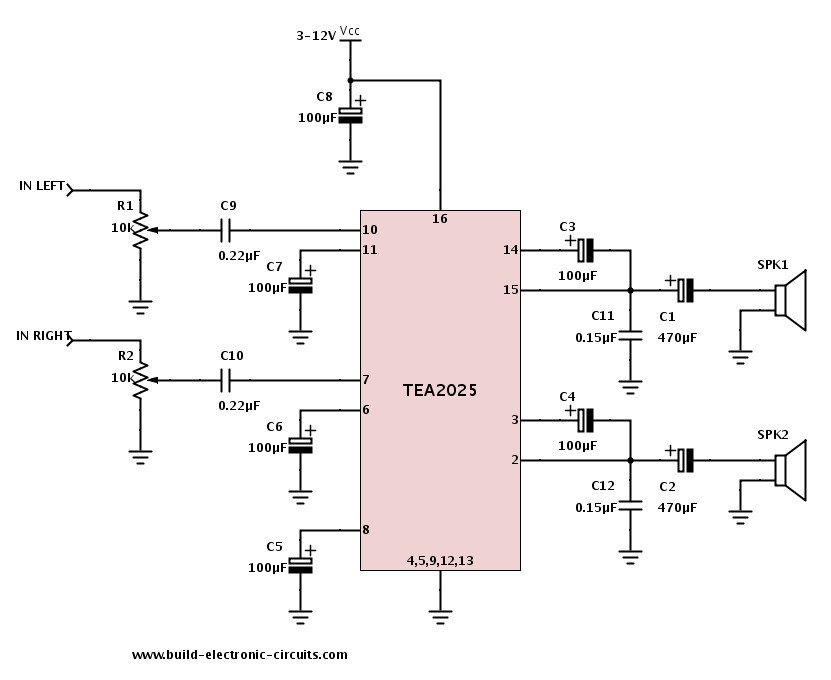
But one day, I came across this really cool chip called TEA2025. It is a stereo amplifier on chip! You only need to connect a few capacitors! I built it, plugged in my iPhone and connected it to some old speakers I had laying around at home. And it actually sounded good! Wow!
So, I decided to create this complete tutorial, so that you can build your own amplifier – a fully functional amplifier – at home. It’s not a top-notch HiFi amplifier, but it’s an amplifier that plays at okay quality and okay volume. And it’s simple to build =)
If you want to build your own amplifier, then this is for you!
Build Your Own Amplifier
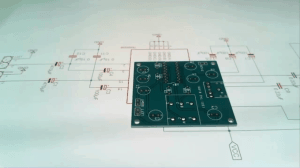
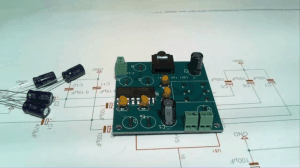
In this tutorial we are going to build a stereo amplifier that you can use to play music from for example your mobile phone or your computer. The amplifier is one of the simplest I have encountered and it gives out a decent sound. Only a few components are needed.
We’ll go through the steps all the way from drawing the circuit in the Eagle PCB software to soldering the components onto the circuit board.
Level of experience needed
Beginner/Intermediate. You should have a basic understanding of electronics. If you have never built any electronics before, the learning curve might be steep, but everything is explained in a simple matter so it should be doable for anyone who are determined to do it.
The Tools You Need
To be able to complete this project you will need basic soldering equipment (solder iron, solder, wire cutter, solder sucker) and access to a computer with Cadsoft Eagle installed (Available for free). In the tutorial we will go through the process of ordering PCB prototypes and components, so you will also need to be able to shop online.
Time and cost of this project
The cost of the components of this project will be approximately $10-15 USD in total (if you need speakers, add another $10). Build time: 1 day designing and ordering, 1 day assembling.
About me

My name is Øyvind and I am a Norwegian electronics engineer. I have a Master’s degree in microelectronics and I have been working with different electronics and computer projects for more than 15 years.
I have held courses at hackerspaces, talked at MakerFaire Oslo and held several webinars on how to make electronics. In addition I have made online courses, videos and written tons of articles on how to make electronics.
From 2009 to 2012 I was the CEO of the technology company Intelligent Agent and I started Dahl Technology in 2013 to focus on online teaching.
What you will learn
In this tutorial I will guide you through the following:
- How to design a circuit in the free Cadsoft Eagle software
- How to prepare your circuit for cheap prototype manufacturing
- Where to order PCB prototypes and components
- How to solder the components to the circuit to make a fully functional stereo amplifier
What You’ll Get
The tutorial includes
- 50 minutes of video instructions
- Schematics
- Complete part list with ALL the parts you need
- All Eagle files (library, schematic and board design)
- Gerber files
I designed these plans exclusively for build-electronic-circuits.com, so you cannot get them anywhere else.
The price for the complete tutorial is $15.
Sorry, this course is no longer available. But I’ve created an updated course that is available at Ohmify
