 I’ve played with the Intel Galileo a lot lately, so now it’s time to build some Intel Galileo projects!
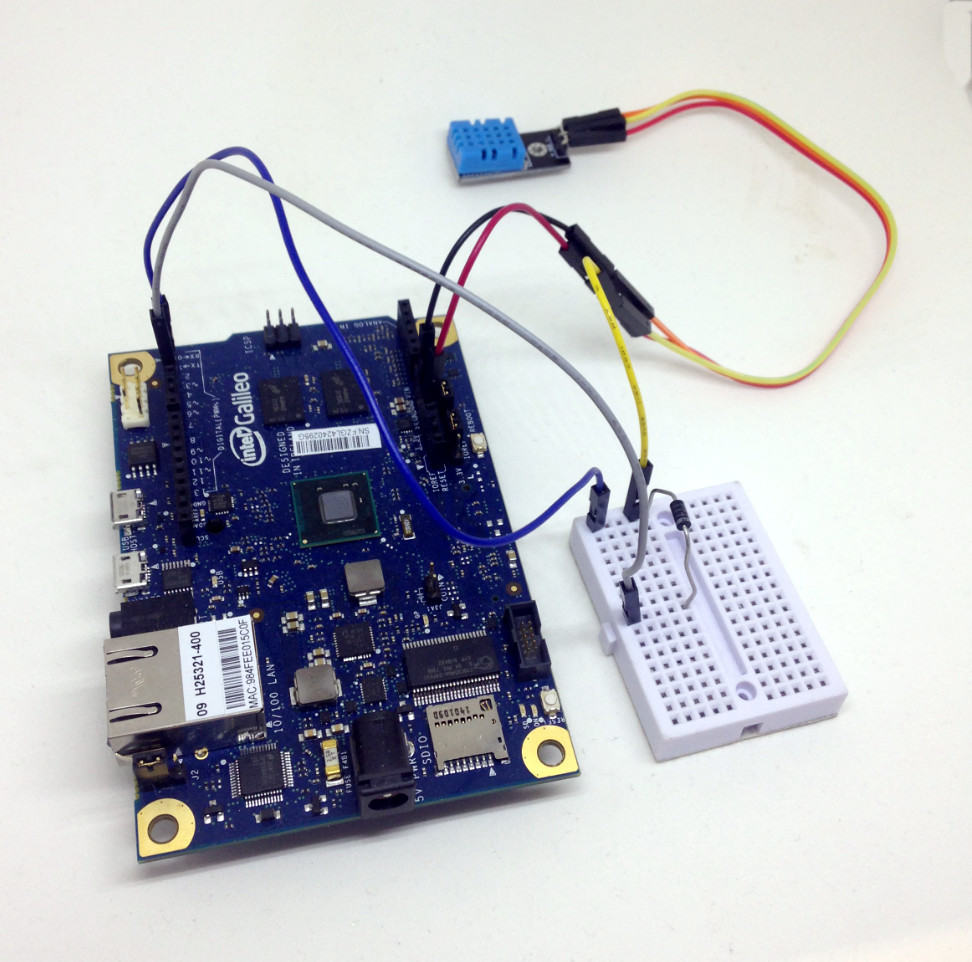
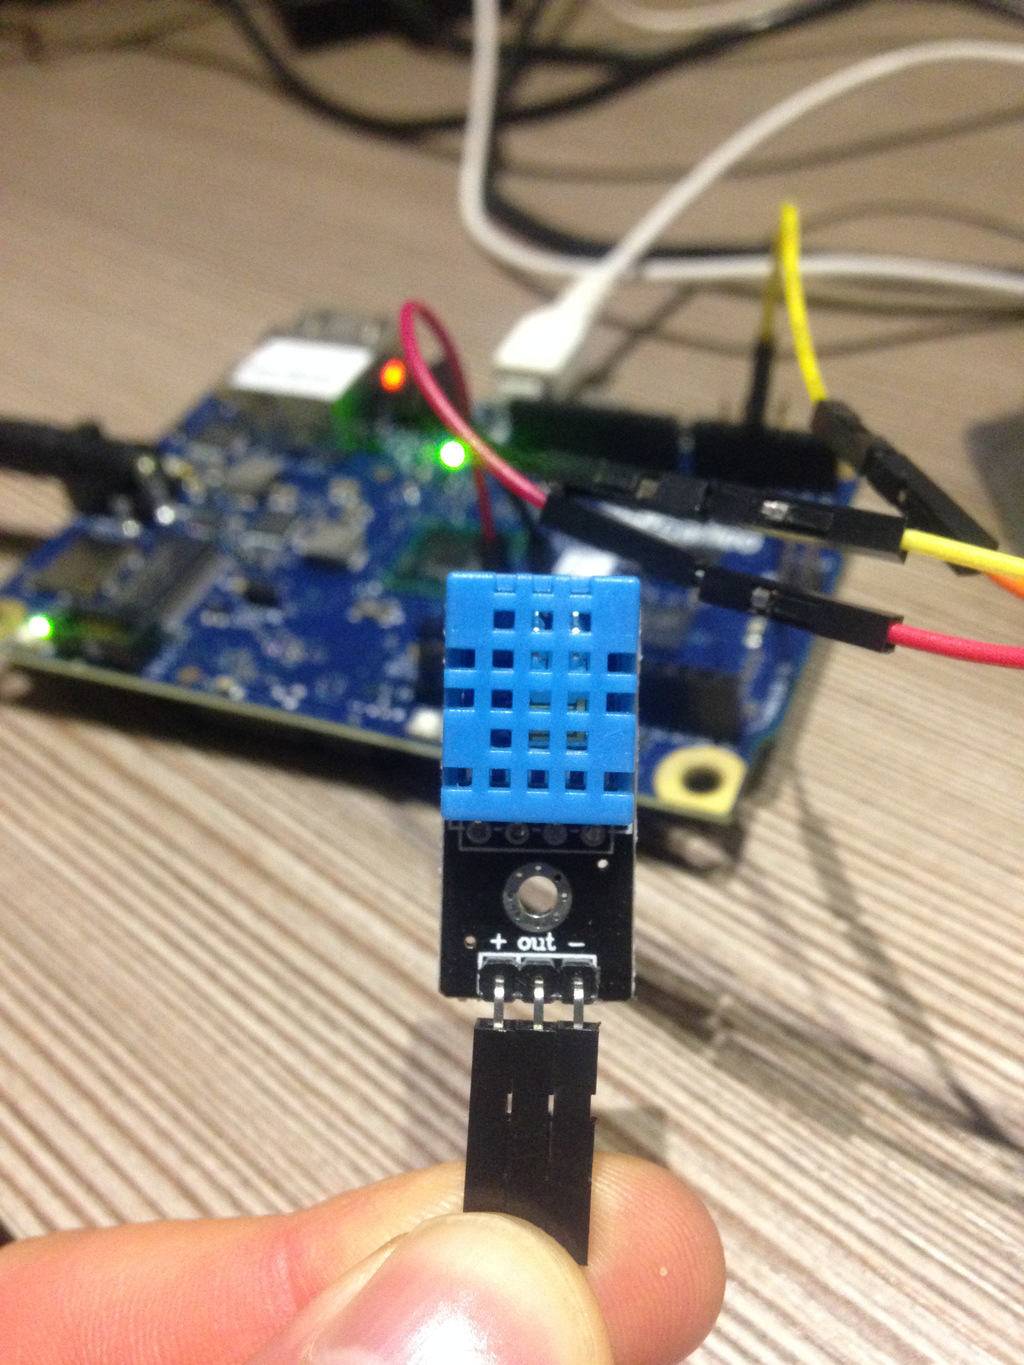
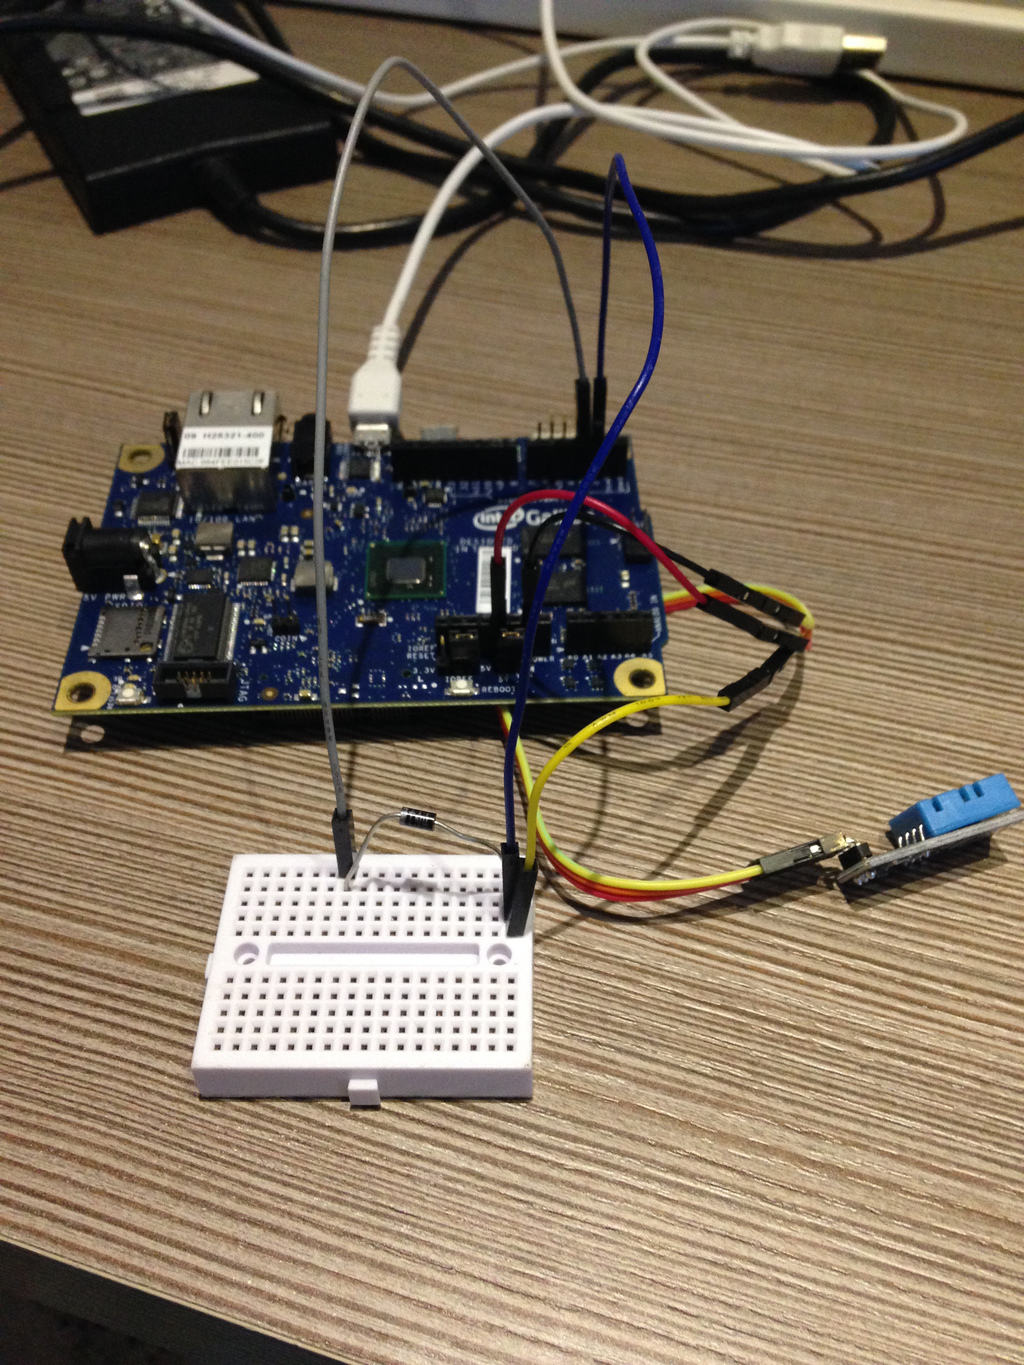
In this project I built a very simple weather station that records the temperature and humidity and saves these to a memory card.
I’ll show you how to read temperature and humidity from a DHT11 sensor with the Intel Galileo. Then how to save these values to an SD-card.
If you’re new to the Intel Galileo, check out my guide on getting started with Intel Galileo projects.
What is a DHT11 Sensor?
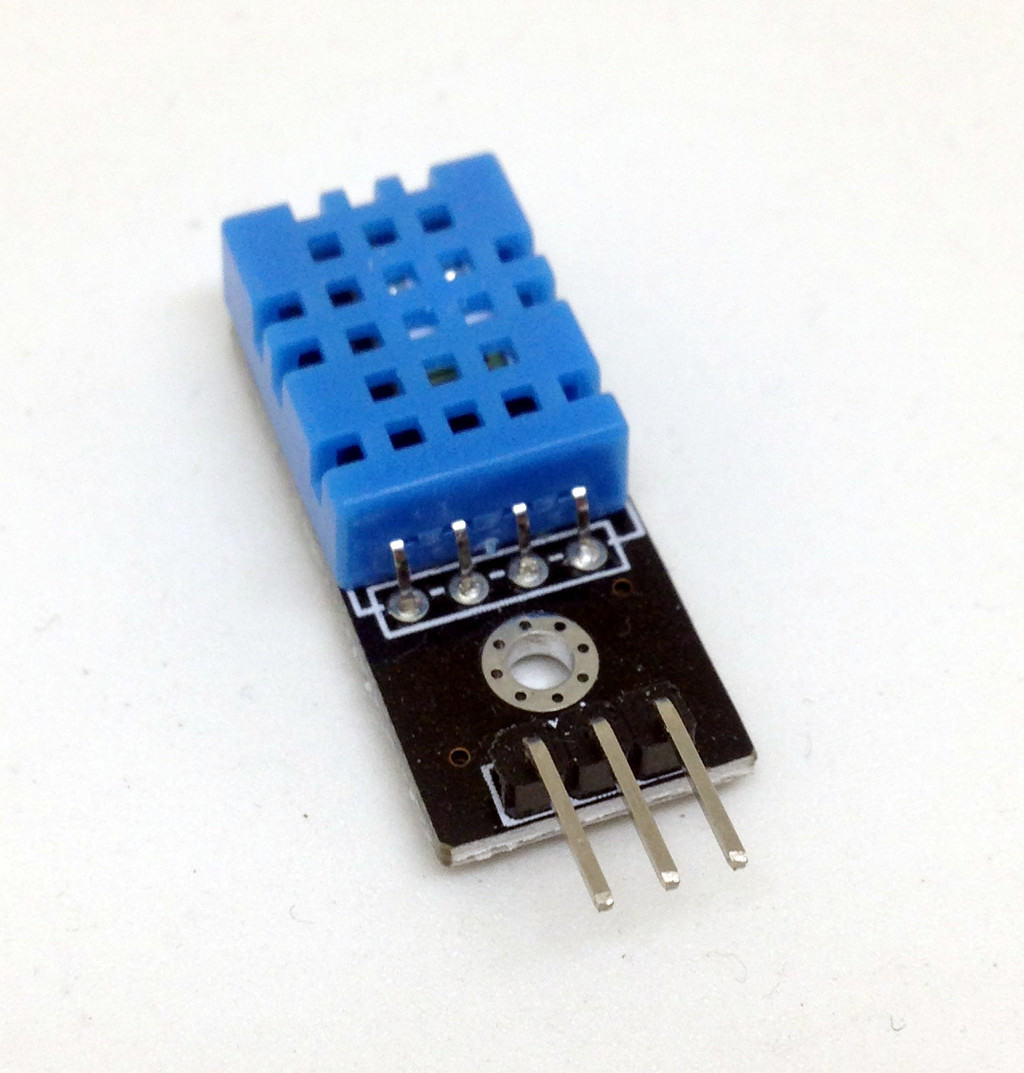
The DHT11 is a cheap sensor for measuring temperature and humidity. It’s really easy to use with for example an Arduino. And since the Intel Galileo is in many ways similar to the Arduino, it’s also easy to use it for this project.
Here’s one place to buy the DHT11 sensor: Amazon.com.

10 Simple Steps to Learn Electronics
Electronics is easy when you know what to focus on and what to ignore. Learn what "the basics" really is and how to learn it fast.
Step 1: Get the Sensor Up and Running
I started out using Adafruit’s DHT library to get the sensor up and running. I tested it using a standard Arduino UNO, just to see if the sensor worked. And it did.
But when compiling for Intel Galileo, I got a few errors because of some AVR-specific calls. I fixed those errors, but still no luck…
Then I found this article that explains why the sensor does not work with the standard library on a Galileo. Basically it is because of the strict timing requirements of the one-wire interface that the sensor uses.
Since the Intel Galileo board runs an operating system, it can take more time to switch a pin from input to output than on a microcontroller.
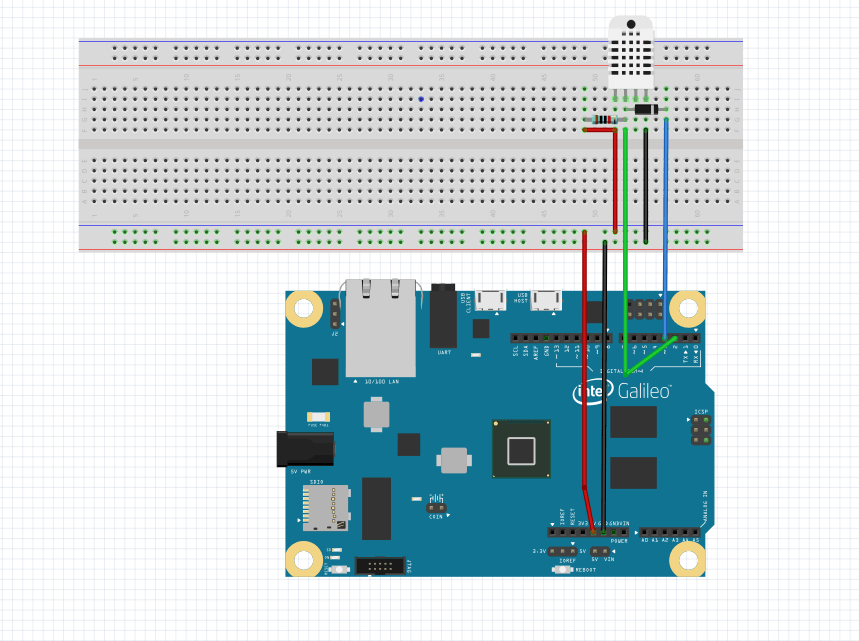
The workaround is to add a diode to split the one pin into two pins. This way the Galileo don’t have to switch one pin between being input and output. Like this:
Note:
- If you are using a 3-pin sensor like me, ignore the resistor.
- Different modules have different pin placements. On mine, the data pin is on the middle pin. On others, it’s on the left.
Download the modified library here: DHT library for Intel Galileo (Code by adafruit, modified by Dino Tinitigan)
Learn how to add custom libraries to Arduino.
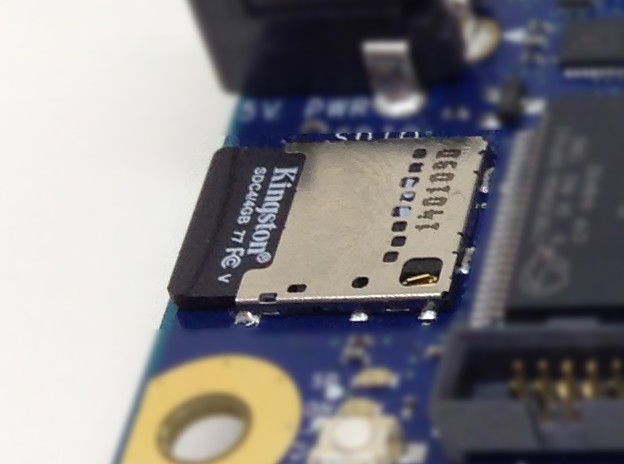
Step 2: Format SD-Card
To write to the SD-card, you need to use the SD-library:
#include <SD.h>
I had a 32GB SD card that I formatted to some Linux format, because that sounded like a reasonable thing to do (the board runs Linux). But the SD.begin() command failed.
So, I tried NTFS format.
But it still failed.
Then, after a lot of Googling, I stumbled upon the following article that says the SD card must be formatted in FAT or FAT32: http://www.hofrock.com/sd-card-issues/
I formatted my SD card in FAT32 format, and it worked.
This is the code I used to test writing to the SD card: https://communities.intel.com/servlet/JiveServlet/download/210392-73847/SD_readWrite.ino.zip
Step 3: Upload Intel Galileo Project Code
Now, all you need to do is to upload the code for logging temperature and humidity to the SD-card. The code I used is a cut and paste composition from different code sources, as shown below:
#include ;
#include "DHT.h"

// what pins we're connected to
#define DHTIN 2
#define DHTOUT 3
// Define the sensor type (DHT 11)
#define DHTTYPE DHT11

DHT dht(DHTIN,DHTOUT, DHTTYPE);

File myFile;

void setup() {

  Serial.begin(9600);
  Serial.print("\nInitializing SD card...");

  if (!SD.begin()) {
    Serial.println("initialization failed!");
    return;
  }

  Serial.println("initialization done.");

  // if the directory does not exist, create it:
  if (!SD.exists("/sensor-data")) {
    Serial.print("Creating directory '/sensor-data'\n");
    SD.mkdir("/sensor-data");
  }

  myFile = SD.open("/sensor-data/temperature.txt", FILE_WRITE);

  // if the file opened okay, write to it:
  if (myFile) {
    Serial.print("File '/sensor-data/temperature.txt' ready for writing...");
    myFile.println("Temperatures:");
    //close the file:
    myFile.close();
  }
  else {
    // if the file didn't open, print an error:
    Serial.println("error opening file\n");
  }

  //Initialize the sensor
  dht.begin();
}

void loop() {
  // Wait a few seconds between measurements.
  delay(2000);

  // Reading temperature or humidity takes about 250 milliseconds!
  // Sensor readings may also be up to 2 seconds 'old' (its a very slow sensor)

  float h = dht.readHumidity();

  // Read temperature as Celsius
  float t = dht.readTemperature();

  // Check if any reads failed and exit early (to try again).
  if (isnan(h) || isnan(t)) {
    Serial.println("Failed to read from DHT sensor!");
    return;
  }

  Serial.print("Humidity: ");
  Serial.print(h);
  Serial.print(" %\t");
  Serial.print("Temperature: ");
  Serial.print(t);
  Serial.println(" *C ");

  myFile = SD.open("/sensor-data/temperature.txt", FILE_WRITE);

  // if the file opened okay, write to it:
  if (myFile) {
    Serial.print("Logging temperature to file '/sensor-data/temperature.txt'...");
    myFile.print("Humidity: ");
    myFile.print(h);
    myFile.print(" %\t");
    myFile.print("Temperature: ");
    myFile.print(t);
    myFile.println(" *C ");

    //close the file:
    myFile.close();

  } else {
    // if the file didn't open, print an error:
    Serial.println("error opening /test.txt\n");
  }
}
More Intel Galileo Projects
This is one of many Intel Galileo projects I’ve done lately. And I aim to post more tutorials in the following days and weeks.
Make sure you don’t miss anything by signing up for my newsletter below! Get daily updates, ideas and tips for building electronics:
10 Simple Steps to Learn Electronics
Electronics is easy when you know what to focus on and what to ignore. Learn what "the basics" really is and how to learn it fast.

Hello. I know this potst is almost one month old but I have a question regarding the DHT11 module. I used the provided header and cpp files and the program compiled and on the com port I get default values like humidity 0% and temperature 0C. The problem starts when I plug in my DHT11 sensor module. At the moment I start getting Failed to read from DHT sensor errors on my COM monitor.
Do you possibly know why does this happen?
Hi,
You will get a few “Failed to read”.
Maybe 1 out of 10. If you’re only getting failed to read, then there’s something wrong with your connection. Maybe you switched the input and the output wire? Maybe you place the diode the wrong way?
Cheers!
Oyvind
I am a student in VietNam , I try to read temperature and humidity dht11 but it have errors. You can sent code dht 11 with intel galileo for me by email : [email protected] . Thank you
Hi Viet,
The library and the code I used is available for download from this article. I don’t have anything else.
Cheers!
Oyvind
Hi Oyvind
I have tried your code for dht11 3 pin but i got “failed to read sensor”. Can you tell me why i get that please ?
and can you give me your screen shot of your program
Thanks
Hi Ikhlas,
Sounds like there’s a problem with your connections. Did you connect your sensor in the same way as shown above?
Cheers!
Oyvind
Hello,
what’s the type or the specification of diod you used
thanks
I think I used a 1N4001 here. But any standard small signal diode will work.
Hey, if I am using the Galileo board gen 2 and DHT11 with three pins like you, how do I connect the same to the board if I am using Groove Schield as an attachment over Galileo Board?