How Does a 555 Timer Work?

The 555 timer works by using three 5 kΩ resistors to divide the supply voltage in three. Two comparators compare these voltages to the input voltage, then sets or resets a flip-flop accordingly.

Below is a diagram showing what the 555 timer looks like on the inside:

How does a 555 timer work on the inside

555 Timer Tutorial: How It Works and Useful Example Circuits

In this 555 Timer tutorial, you’ll learn how to use the 555 timer to do fun things.

One of the first things many do with it is to create a blinking light. But that’s just one simple example of the many things you can do with this chip. You can also control motors, create an alarm, create a musical instrument, and much more.

Why Are Electronics Books So Hard?

A few weeks ago, I went to the library with my wife. I checked out some of the electronics books they had, and something interesting dawned upon me… First, I have to say that I feel confident in my ability to build pretty much anything when it comes to electronics. I’ve designed microchips, I’ve designed

What Is a Voltage Regulator and What Does It Do?

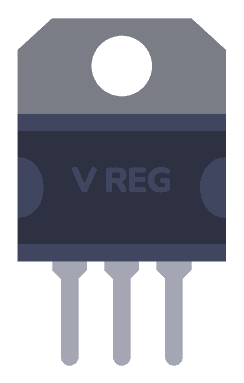
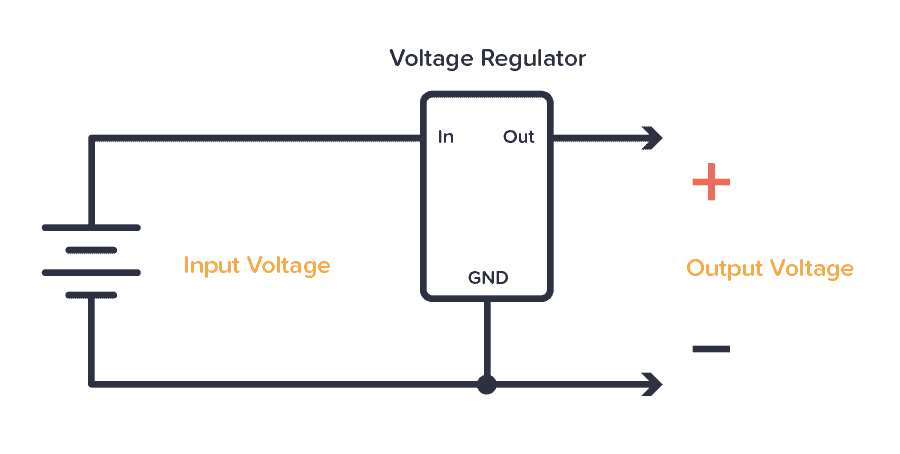
A voltage regulator is a component that gives you a stable output voltage, no matter if the input voltage changes. It’s an integrated circuit (IC), usually with three or more pins.

Voltage regulator

A typical example of when you need a voltage regulator is if all you have is a 9V battery, but your device needs 5V. A voltage regulator can take those 9V as input and create a nice and stable 5V output that you can use to power your device.

Or if you need different voltage levels for a circuit you’re building. Let’s say you have a circuit with a microcontroller that needs 5V and a motor that needs 12V. Instead of using two power supplies, you can use just one 12V supply and add a voltage regulator to provide 5V for the microcontroller.

How To Edit Symbol in KiCad

I was recently asked how to edit a symbol in KiCad. The question was actually how to stretch a component that was in the standard library, so I made a quick walk-through on how to do that. You can edit the symbol in the symbol editor. Just right-click on the symbol that you want to

Me looking back at 5 years of Ohmify (it’s our birthday!)

5 years ago today, I launched Ohmify from my laptop while traveling in Colombia. I had spent the previous night in a tree hut on the beach to recharge my batteries. Now the moment had come… I was finally launching Ohmify! Something that I’d dreamed about for a long time. I created Ohmify to be

How Transistors Work – A Simple Explanation

The transistor is a simple component that you can use to build a lot of fun projects. In this hands-on guide, you’ll learn how transistors work so that you can use them in your next circuit.

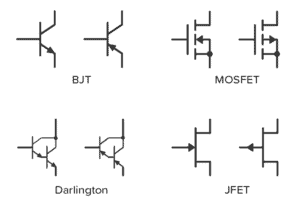
And it’s actually pretty easy, once you learn the basics. I’ll focus on the two most common transistors here; the BJT and the MOSFET.

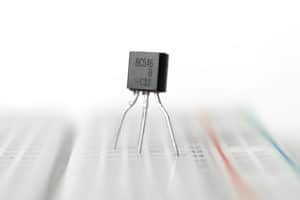
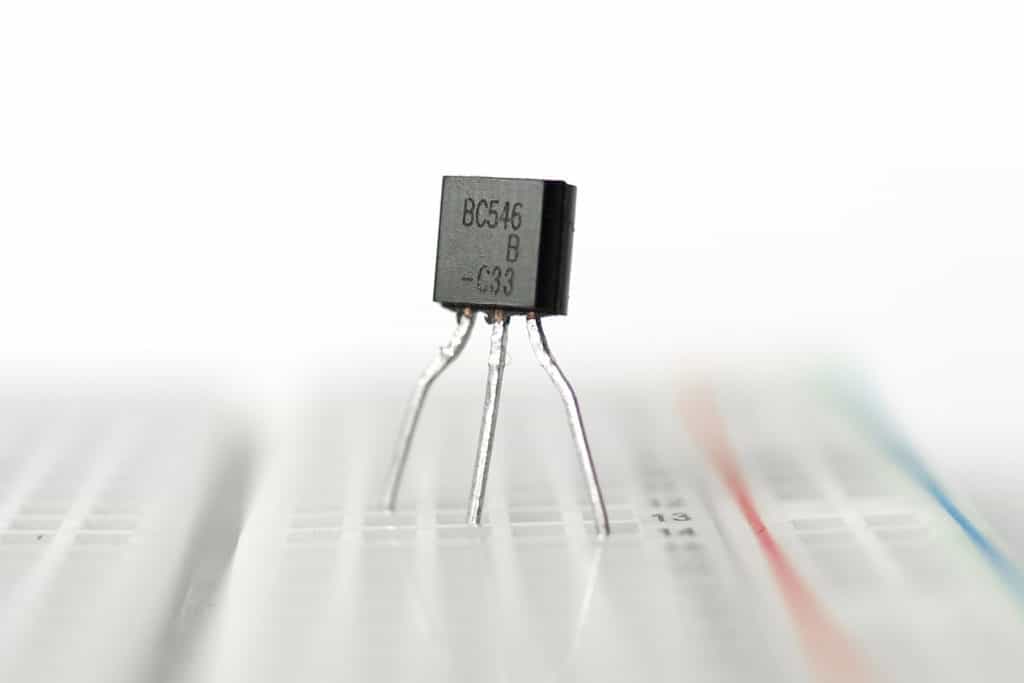
NPN transistor on a breadboard

The transistor works like an electronic switch. It can turn a current ON and OFF. A simple way to think about it is to look at the transistor as a relay without any moving parts. A transistor is similar to a relay in the sense that you can use it to turn something ON and OFF.

But a transistor can also be turned partly on, which is useful for building amplifiers.

The Pull-Up Resistor: How It Works and Choosing a Value

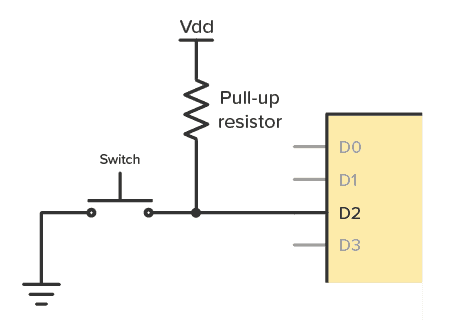
The pull-up resistor is very common and you’ll see it in digital circuits all the time. It’s just a resistor connected from an input up to VDD, the positive supply of the circuit.

For example on digital inputs on an Arduino. Or the input of digital chips such as the 4000-series IC.

Pull-up resistor example circuit

Pull-up resistors are used to make sure you have a HIGH state on the input pin when the button is not pushed. Without one, your input will be floating, and you risk that the input randomly changes between HIGH and LOW as it picks up noise in the air.

Cap Half Full #6 – Repairing an old amplifier

In this episode, we repair an old Sanyo amplifier. In this episode, we find an old amplifier in the trash and we try to repair it. Will we able to? Listen and find out. Listen to the Podcast Show Notes

The Most Common Schematic Symbols Used in Electronics

To be able to read schematics you must know the basic schematic symbols used in electronics. But you don’t need to memorize them all. To start with, it’s usually enough to know the battery, resistor, capacitor, transistor, diode, LED, and switch.

Later when you come across symbols you don’t know, you can come back here to identify what it is.

Below is an overview of the most used symbols in circuit diagrams.

What is Ground in Electronic Circuits?

An example circuit with lots of connections to ground

When you start learning about circuits, you’re bound to ask “what is ground?” at one point or another. Are you actually suppose to connect your circuit into the ground??

First of all: grounding in electronics is different from the earth connection in wall outlets (although they sometimes are connected).

How to Use an Oscilloscope – The Beginner’s Guide

How to use an oscilloscope

Knowing how to use an oscilloscope is very useful when building electronic circuits. When your circuit is not working, it will help you figure out what is going on.

I learned how to use an oscilloscope pretty much on my own. The first time I tried one, I only got some simple instructions, then I was left to myself to figure things out.

But I found that it wasn’t really that hard…

The oscilloscope can be a bit overwhelming with all its functions. But you don’t need to know every detail of it. You can actually come a long way by knowing just a few simple things.

So I want to pass those simple things on to you so that you can start using an oscilloscope on your own.

Learn Electronics With These 10 Simple Steps

Do you want to learn electronics, so that you can build your own gadgets? There is a ton of resources on learning electronics – so where do you start?

And what do you actually need?

And in which order?

Components on a stripboard

If you don’t know what you need to learn, you can easily waste a lot of time learning unnecessary things.

And if you skip some of the simple but crucial first steps, you’ll struggle with even the basic circuits for a long time.

How to Create Gerber Files in KiCad

Gerber files are actually images of the different layers of your Printed Circuit Board (PCB). And it’s a universal way of sending your design to a PCB manufacturer. In this tutorial, I’ll show you how to create these files in KiCad.

Gerber files viewed in KiCad's gerbview
Example of two gerber file layers viewed in KiCad

PCB Design: How to Create a Printed Circuit Board From Scratch

To design a Printed Circuit Board (PCB), you need to draw holes, pads, and wires for your circuit.

Illustration of PCB design

When you’re done drawing the board, you can either send the design to a manufacturer that will make it for you (it’s actually pretty cheap) – or you can etch it yourself at home.

This skill is called PCB design and it’s easier than many think.

In this guide, I’ll lay out all the steps for you. And once you’ve gone through these steps one time, the second time everything is much easier.