Reflow soldering is a very effective method for soldering circuit boards with lots of surface mount components. But is this something you can do as a hobbyist?
Yes it is :)
Pre-requisites
To do reflow soldering, you should have the following tools:
- Solder paste in a syringe
- Flux
- Tweezers
And one of the following:
- A hot plate/skillet
- A toaster oven
- A “real” reflow oven
Apply flux
Start the process by applying flux to the pads to make sure they are clean and will get heated properly.
Apply solder paste
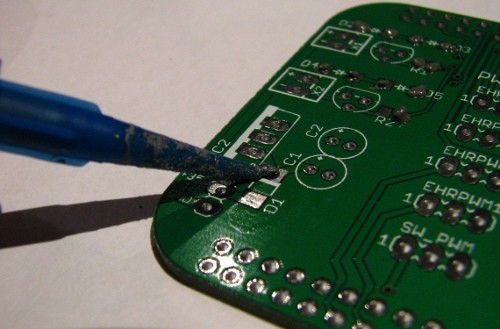
Apply a dash of solder paste to each of the pads. You don’t need to be too precise with applying the solder paste. When it melts, it will flow naturally to where it belongs. At least most of the times ;)
Place components
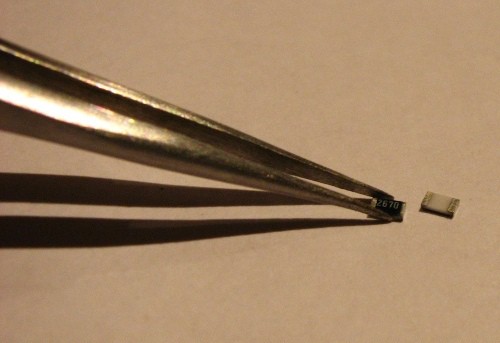
Now, take out your surface mount components and start placing them one by one using your tweezers.
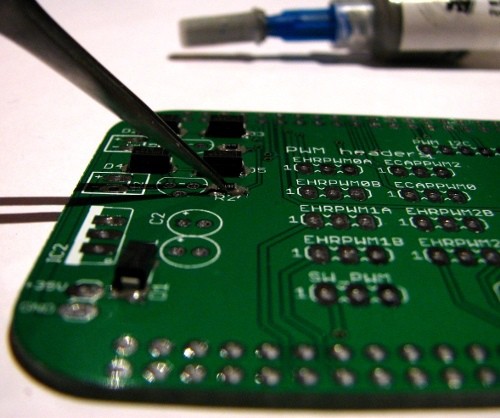
When the solder melts, the components will usually align on their own, but try to align them as precise as possible in advance anyway.
10 Simple Steps to Learn Electronics
Electronics is easy when you know what to focus on and what to ignore. Learn what "the basics" really is and how to learn it fast.
Reflow Soldering
With all the components in place, you are ready for the reflow process. The basic idea is to heat the circuit board to a temperature where the solder melts, then let it cool.
In the professional world, a specific temperature profile is used to ensure that the solder melts properly and that the components aren’t damaged from the heat. Usually a peak temperature of 220-250 degrees Celsius is used.
But in the hobbyist world, we just find something that works ;)
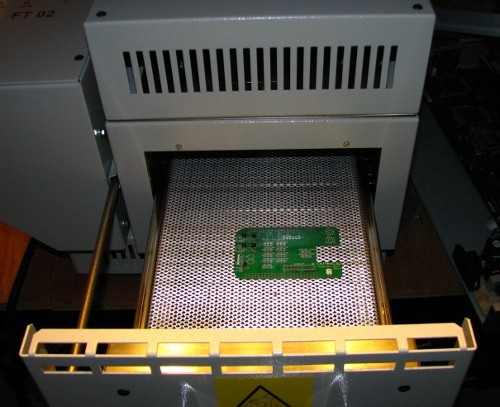
I happen to be so lucky that I have a reflow oven in my office :) This is the process I use:
- Preheat the oven to ~ 100 degrees Celsius
- Insert board into the oven
- Raise the temperature gradually up to 220 degrees and let it stay there for 1-2 minutes
- Take out board and let it cool
As mentioned earlier, you don’t need an industrial type of oven to do this. This can easily be done with a toaster oven or a skillet. Just get the board hot enough to make the solder melt, then cool the board. Here is a couple of external links with more specific information:
Inspect the board
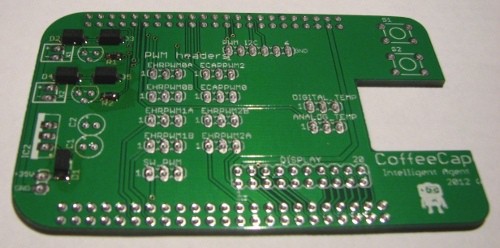
When the circuit board has cooled, inspect it to see if everything looks okay. Look for solder bridges, misplaced components and bad/non-existing solder joints.
For very small parts you can use a USB microscope or a magnifying glass.
Does it look ok? Well then, power it up!
More Soldering Tutorials
Get Our Basic Electronic Components Guide
Learn how the basic electronic components work so that circuit diagrams will start making sense to you.
