555 Timer Police Lights

This 555 Timer Police Lights circuit is an interesting electronics project that simulates the alternating flash of police vehicle lights using LEDs.

The circuit uses a 555 timer IC and a CD4017 decade counter to create the flashing effect. By adjusting the frequency of the 555 timer, you can control how quickly the LEDs flash, mimicking the strobe light effect found on emergency vehicles.

555 Timer Continuity Tester

A continuity tester is an indispensable tool when working with electronic circuits. This 555 Timer Continuity Tester uses a 555 Timer IC to generate an audible tone when a continuous path (continuity) is detected between the two probes. This tester will work with resistances up to 200 kΩ. Additionally, it has an automatic turn-off feature

How a Relay Works and How to Use It in Circuits

Electrical relays are switches that you turn on and off with electrical signals. In this guide, you’ll learn how a relay works and how to use relays in your own electronics projects!

Photo of relay pins and top view

Relays are very important in electronics because you can use them to turn on/off high-power devices like lamps or garage door motors with just a small DC voltage signal.

You can use a microcontroller, such as Arduino, to create the logic for when to turn your lamp on and off, then use an electrical relay to do the switching of the lamp.

This makes it easy to make lights that activate only at night, control your garage door motor with a signal generated by your phone, or control other home appliances.

Understanding Basic Electronics is Easy

Yes, basic electronics is easy. As long as you don’t make it complicated (which many unfortunately do).

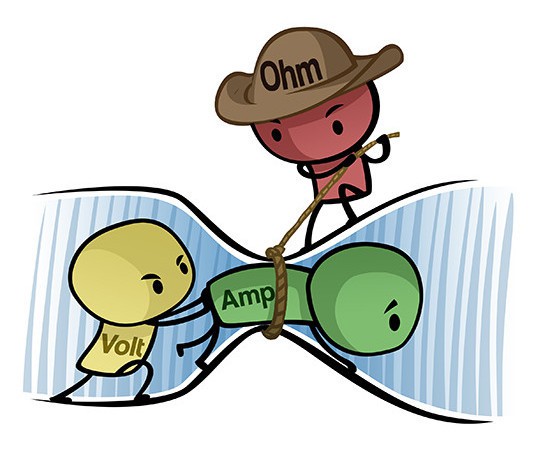
An electrical current is the flow of electrons in a wire. Electrons flow when you have a “closed loop” – a path from the negative to the positive terminal of a battery.

Basic electronics - current flow

For example, if you connect a small light bulb to the positive and the negative side of a battery, you will get a closed loop where electrons can flow and make the lamp shine.

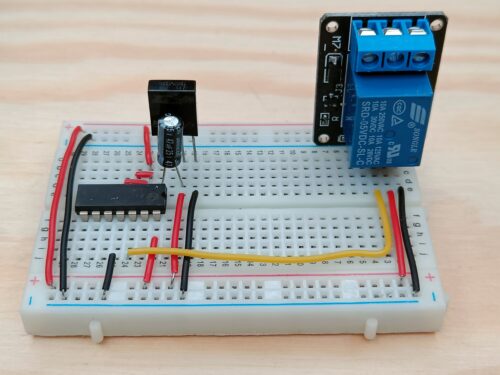
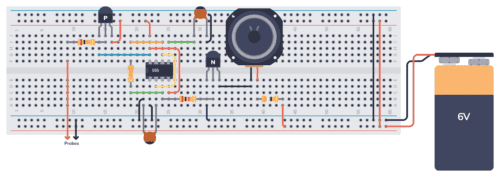
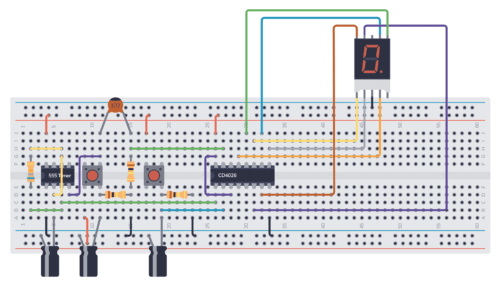
“Electronics” control electrical currents by combining different components.

What is Basic Electronics?

Many think that basic electronics has to do with the physics of how electrons move. But that’s particle physics, not electronics!

You can learn the basics of electronics by learning this:

  • The basics of current and voltage
  • How the most common basic components work
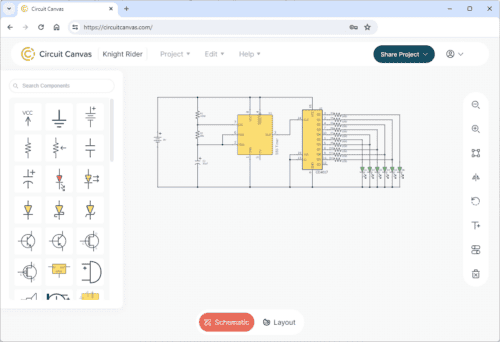
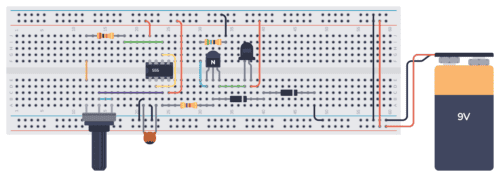
  • How electronic schematics work
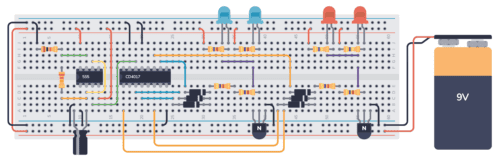
  • How to build circuits from schematics
Ohms law cartoon

Arduino IR Transmitter Circuit

In this guide, you’ll learn how to set up an Arduino IR Transmitter circuit. It lets you control an IR (Infrared) LED and send any remote control code from your Arduino. This means you can use it to control your TV or anything else you feel like! The Circuit The circuit is pretty straightforward. Three

Arduino Rotary Encoder: Tutorial With Example

In this tutorial, you’ll learn how to interface an incremental rotary encoder with an Arduino to read the movement of the knob. This can be useful for creating user interfaces or reading mechanical positions in robotics and other applications. What You Will Need Schematic and Breadboard Setup Note that in this schematic I’m using a

Arduino Motor Guide: How to Drive a DC Motor

In this Arduino motor guide, you’ll learn how to drive and control the speed of a DC motor using an Arduino UNO and a TIP120 transistor. In this example, you’ll use a pushbutton to ramp up the motor speed and then slow it down, thanks to the power of Pulse Width Modulation (PWM). Materials Needed:

Arduino Servo Motor: Reference Code and Wiring Example

In this Arduino servo motor tutorial, you’ll learn how to control a servo motor using an Arduino UNO board and a potentiometer. As soon as you’ve got this example project up and running, you’ll have the skill of controlling servo motors from your Arduino. This can be the basis for more advanced robotics projects. Components

Arduino Hall Effect Sensor: How to Detect Magnetic Fields

In this guide, you’ll learn how to set up an Arduino Hall effect sensor, specifically the US1881, to detect magnetic fields. This can be useful for projects where you need to find the RPM of a motor or other movements in a machine. Parts Needed Schematic Diagram Connect the VDD pin of the US1881 Hall

Arduino Ultrasonic: Controlling an HC-SR04 with Arduino UNO

A popular Arduino Ultrasonic Sensor is the HC-SR04. It’s widely used for non-contact distance measurements and often used in robotics and automation projects. This guide will show you how to connect an HC-SR04 to an Arduino and write a simple program to measure distance. Requirements Connection Diagram Step-by-Step Guide Arduino Ultrasonic Example Code Copy and

What Is A Resistor And What Does It Do?

The resistor is a component that resists the flow of current. It doesn’t do anything actively, so it’s called a passive component. Sounds boring and pretty useless, but it’s actually an extremely useful component. Once you know the basics of the resistor – and how it works with currents and voltages in a circuit –

Arduino Sound Sensor: Control an LED with Sound

In this tutorial, you’ll learn how to connect an Arduino sound sensor to control an LED with sound. By the end of this guide, you’ll have a working sound-activated LED! Parts List How To Connect the Arduino Sound Sensor In the schematic diagram below, you can see the complete connections for this project. Connect the

Arduino Speaker Tutorial: Play Melodies with Your Arduino

In this beginner-friendly tutorial, you’ll learn how to set up an Arduino Speaker circuit where you will play a melody from your Arduino. By the end, you’ll have a basic understanding of how to create Arduino projects that play melodies.

What You’ll Need:

Arduino Buzzer Tutorial: Play Melodies with Your Arduino

In this quickstart tutorial, you’ll learn how to control a passive buzzer using your Arduino UNO to play a simple melody. By the end, you’ll have a basic understanding of how to incorporate sound into your Arduino projects. Materials Needed Arduino Buzzer Schematic Diagram Refer to the schematic diagram provided to connect your passive buzzer

The Potentiometer: Pinout, Wiring, and How It Works

A potentiometer is an adjustable resistor with three pins. The fact that it has three pins instead of two was confusing to me when I was starting to learn electronics. But as soon as I saw the inside of it, it all made sense.

In this guide, I’ll show you what the potentiometer looks like on the inside, the different potentiometer types, and examples of how to wire it up for different circuits.

What Is A Potentiometer?

Potentiometers are adjustable resistors used in circuits for many things, such as to control the volume of an amplifier, control the brightness of a light, and much more.

It is like the resistor. But while the resistance value of a resistor stays the same, you can adjust the resistance value of a potentiometer.