Build a compact FM transmitter to experiment with RF circuits. With this circuit, you will be able to transmit your voice over short distances using basic components.
Building your own FM transmitter is a great way to experiment with electronics and learn more about how radio frequency works. This circuit is perfect for electronics hobbyists with some circuit experience from before.
The Circuit
The circuit is based around a transistor with an LC tank circuit.
Here’s the schematic for the FM transmitter:
Parts List
- R1: 47kΩ resistor
- R2: 330Ω resistor
- C1: 1nF capacitor
- C2: 100nF capacitor
- C3: 1µF capacitor
- L1: 1H inductor
- VC1: 10-100pF variable capacitor
- Q1: 2N3904 NPN transistor
- MIC1: Electret microphone
- Battery: 3.3V and up (e.g., two AA batteries in series, a LiPo battery, etc.)
- Antenna: A piece of wire of about 75 centimeters would be a good starting point for your antenna.
How It Works
When you speak into the microphone, it converts the sound waves into electrical signals. These signals make the voltage vary at the junction, creating an audio signal. Capacitor C1 filters out the DC noise, ensuring only the audio reaches the base of the transistor Q1.
Capacitor C3 in this circuit acts as a decoupling capacitor. Its primary purpose is to smooth out voltage fluctuations and filter out noise from the power supply, ensuring that the circuit receives a stable voltage. When using a battery, this might not be necessary.
The transistor then amplifies this audio signal, making it strong enough to drive the rest of the circuit. The heart of the transmitter is the LC tank circuit, comprising the inductor (L1) and the variable capacitor (VC1). This LC circuit generates signals at a specific frequency by continuously charging and discharging, a bit like swinging back and forth on a playground swing. This signal is then sent to the antenna, ready to be broadcasted.
Practical Considerations
For this project, a simple piece of wire can work as an antenna. The length of the wire can affect the transmission range, so play around with it to see what works best.

Build Something Useful This Evening
This gadget lets you use any IR remote-control to control your lamp, garden lights, heater oven, garage door, or anything else.
Although the circuit was designed for a 3.3V battery, it can generally handle slightly higher voltages. But be mindful that excessive voltage can damage the components.
More Circuits & Projects Tutorials
Build Something Practical This Evening
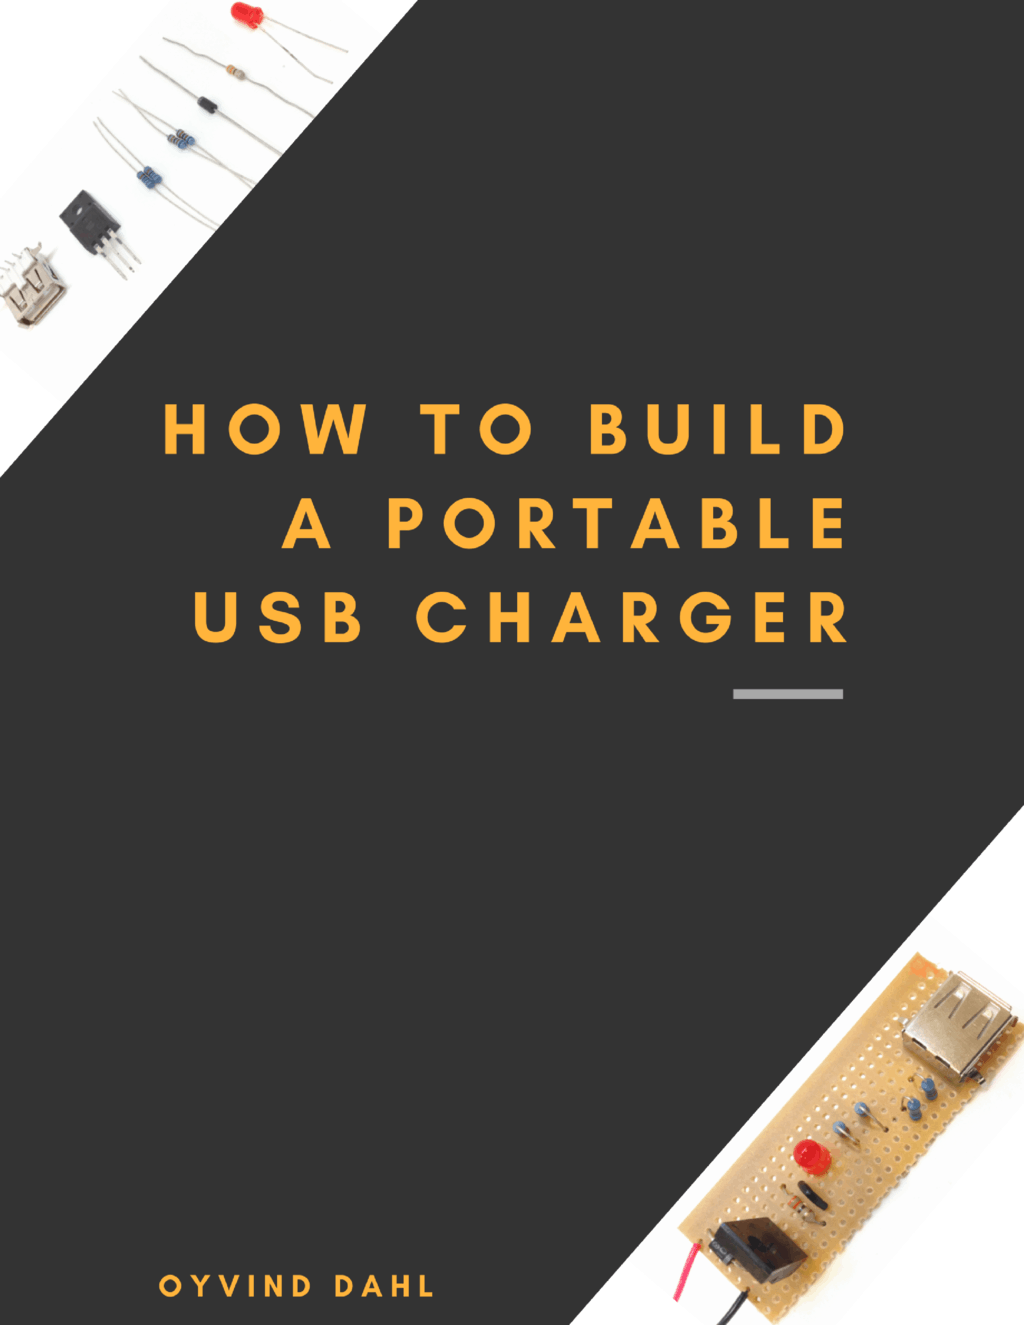
Download this tutorial that shows you step by step how to build an old-school USB charger for your mobile.
I’d like to know how much it would cost to have you write a guest article and publish it on your site. My industry is PCB, which is closely related to yours.
Sometimes there are people pausing outside my gate and I would like to hear what is going on. An FM transmitter is ideal but I want a directional antenna that points to my front door and nowhere else. I don’t want issues with interference to radio stations and licence requirements.
Any suggestions? I want stealth.
I suggest you clarify the Electret microphone. There are 3-terminal versions and they can expire/degrade in storage. So how do you troubleshoot this?
Are you familiar with LoRa?
are you sure this is an FM transmitter?
from what I can see there’s no VCO, no frequency multiplier…
It looks somewhat like an AM transmitter, what with having a constant carrier frequency vary in magnitude.