In the previous part of the microcontroller tutorial series, we looked into the basics of microcontrollers.
Our goal is to build a microcontroller circuit that is as simple as possible. So that we can make it at home.
Next up in this tutorial is choosing a microcontroller. This can be hard! At least if you don’t know what you are doing. But after reading this second part, it will become easy ;)

What Are the Differences Between Different Microcontrollers?
There are a gazillion different microcontrollers. But what is really important for our project?
When you have the answer to this questions – everything becomes much simpler. So, let’s look at some differences between microcontrollers.
Number of bits
You can find 8-bit, 16-bit and 32-bit microcontrollers. These numbers refer to the size of the databus. In practical terms, a larger databus can do more heavy calculations.
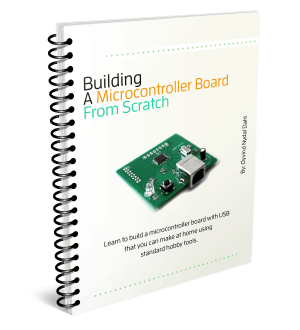
Download the Microcontroller Tutorial
A step-by-step guide on how to make a microcontroller board you can build at home using standard hobby tools.
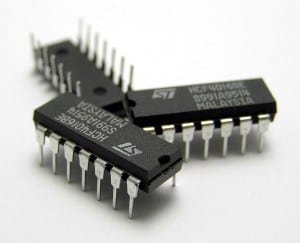
The 8-bit microcontroller is the most commonly used by hobbyists. In general, the 8-bit microcontroller has fewer pins, so that it’s easier to solder. And it is usually easier to program too.
In this microcontroller tutorial, we’ll be using an 8-bit microcontroller.
Memory, IO and peripherals
 Different microcontrollers have different amount of memory, number of Input/Output (IO) pins and peripherals.
Peripherals are extra functions added to the microcontroller.
It could be Analog-to-Digital conversion, USB interface, Pulse-Width modulations or SPI-communication. If you are not familiar with these terms, don’t worry. You’ll learn them when you need them.
AVR vs PIC
The two most common microcontroller-brands for hobbyists are probably AVR from Atmel and PIC from Microchip.
AVR is the type of microcontroller used on the Arduino.
I have used AVR a lot and I think it’s a really good choice of microcontroller. The PIC is said to be really good too, but I have been so happy with the AVR that I never actually tried the PIC.
Finding a Microcontroller For Our Circuit
Now it’s time to start making some decisions. Should we go for the AVR from Atmel or the PIC from Microchip?
Since I have used the AVR many times before, I’m just going to go for AVR again. I know this will save me time and energy.
This is very common among electronics designers – to make their decision based on what they have experience with.
Writing Down Our Requirements
Ok, we have narrowed it down to 8-bit AVR chips. What else do we need?
My goal with this, is to build a microcontroller circuit that is as simple as possible. I want a simple circuit that I can plug into the USB of my computer to program it.
So these will be our requirements:
- Programmable through USB
- As few components as possible
- Possible to solder at home
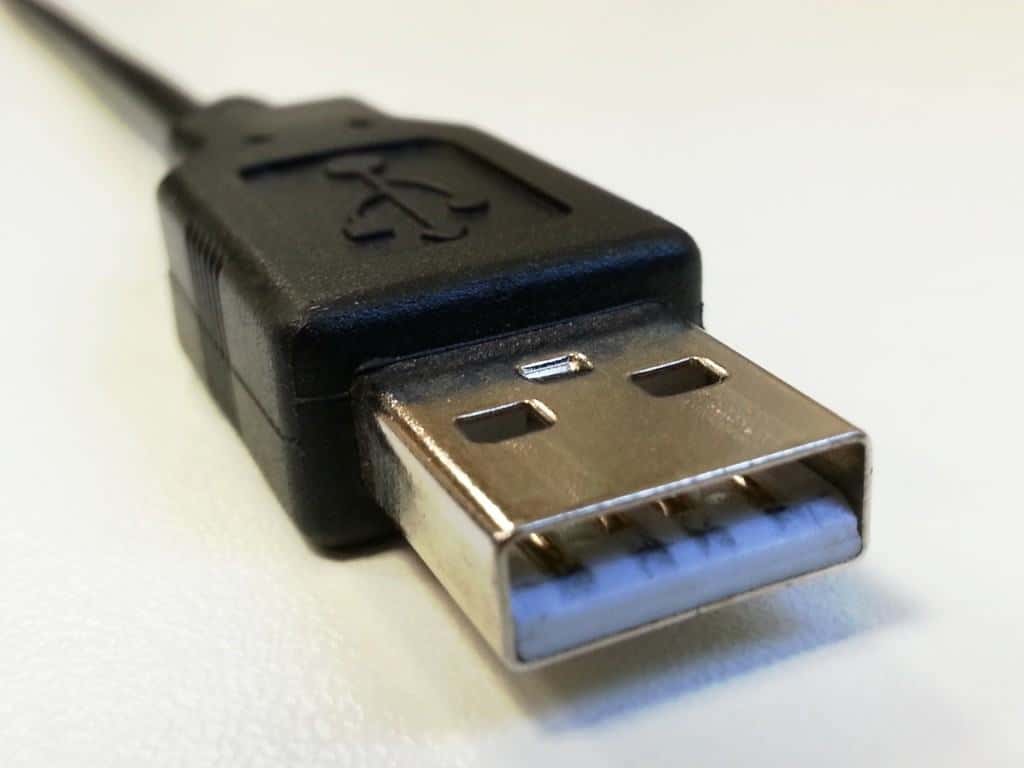
There are several ways to be able to program the microcontroller through USB.
A common method, used on some Arduino boards, is to add a “USB to serial”-chip to the circuit. The problem with this approach is that it increases the number of components on the board.
Another method, is to find a microcontroller that has USB interface integrated onto it. Since this matches our wish for fewer components, we’ll go for this option.
Specifically, we need a USB device interface.
And we have to make sure the microcontroller comes pre-loaded with a bootloader that makes it possible to program it through USB.
The last requirement, is that it should be possible to solder the circuit at home. So we want to find a microcontroller with as few pins as possible.
Less pins = easier to solder.
Using the Microcontroller Selector
Atmel have made a very useful tool for selecting a microcontroller (find it here).
All we got to do, is to insert out requirements:
In the «CPU»-field – we select only the «AVR 8-bit»
In the «USB»-field – we select only the ones with «USB device»
Then, we sort our results by pin count.
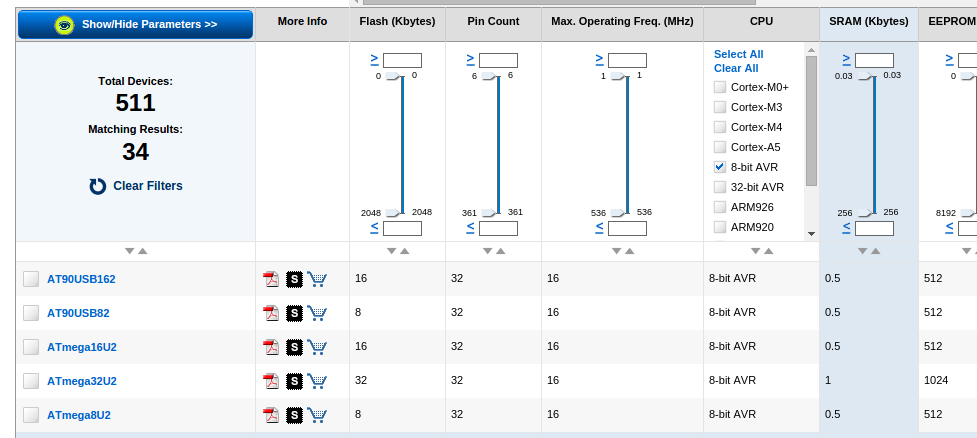
We get 5 results that has 32 pins. None with less pins. So we’ll narrow it down to these 5 options.
There is one more requirement though, that we need to take into account.
For us to be able to program the chip through USB, the chip needs to be pre-programmed with a bootloader from the factory.
The bootloader is called DFU Bootloader.
Information on which ones are pre-programmed with the DFU bootloader was a bit hidden. But I found this document which lists the pre-programmed devices on the right. From this document, we can see that the Atmega8U2 does NOT have the bootloader pre-programmed.
So that leaves us with 4 options.
Making a Decision
Since all of these seem to fit our requirements, it doesn’t matter which one we choose. So let’s choose the one that has the most amount of flash. More flash means that we can store bigger programs on the chip.
Atmega32U2 with 32kB of flash is the winner!
Before we move on, it’s a good idea to check that the chip is available in our preferred store. I buy all my stuff online from one of these stores usually.
And at the moment, I can see that the chip is available several places.
Next Up in the Microcontroller Tutorial
Now we have chosen a microcontroller, and we are ready to start designing our circuit. Because of the microcontroller we chose, this might turn out to be a pretty simple task.
But we’ll see about that in the next part…
Continue to part 3 of the microcontroller tutorial >>
More Microcontrollers Tutorials
Download the Microcontroller Tutorial
A step-by-step guide on how to make a microcontroller board you can build at home using standard hobby tools.
