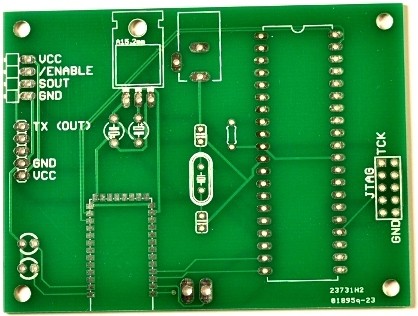
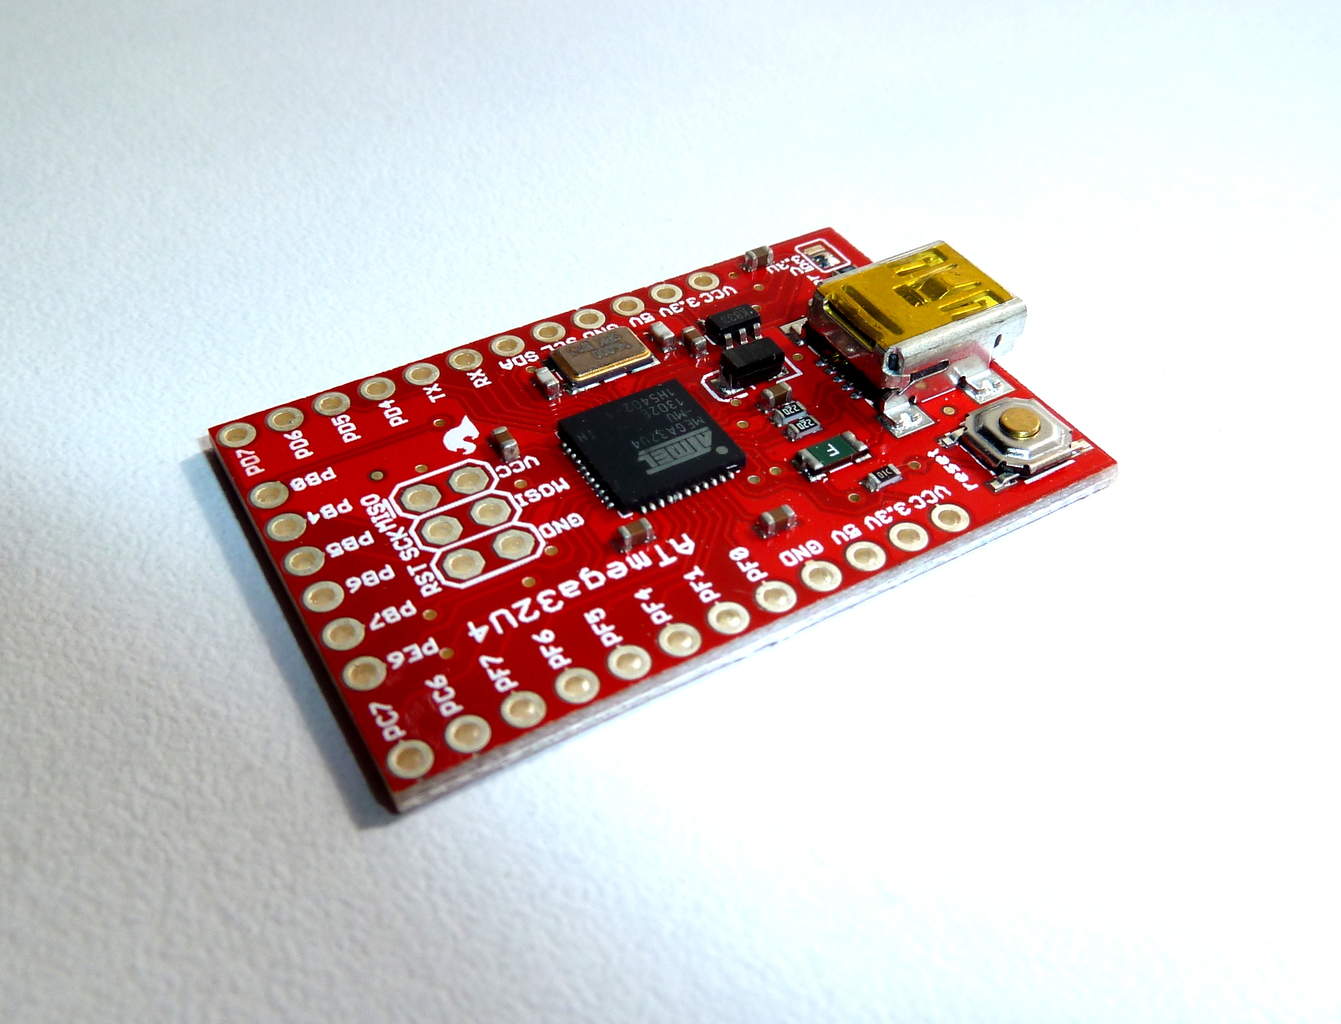
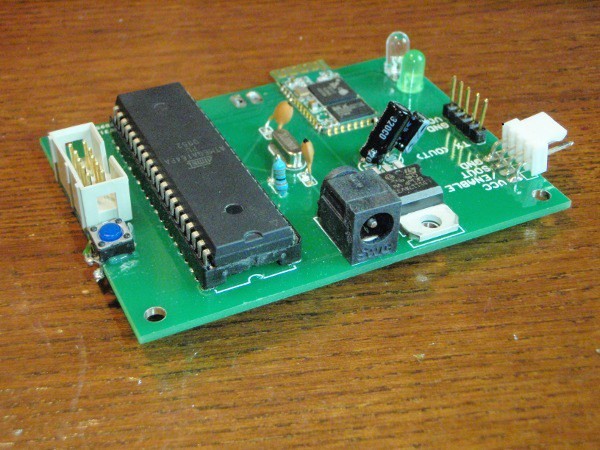
Today I checked out the Protostack Development Kit. This is a board that comes with an AVR microcontroller and the necessary components to get the microcontroller up and running.
Basically, that means it comes with a voltage regulator, some capacitors, an LED, a power connector, and a connector for an ISP programmer.
Have you ever considered bringing your soldering iron on vacation?
I am in Mexico at the moment and of course I have my soldering iron in my suitcase. But here the other day I got myself a surprise that I never considered could be a problem.
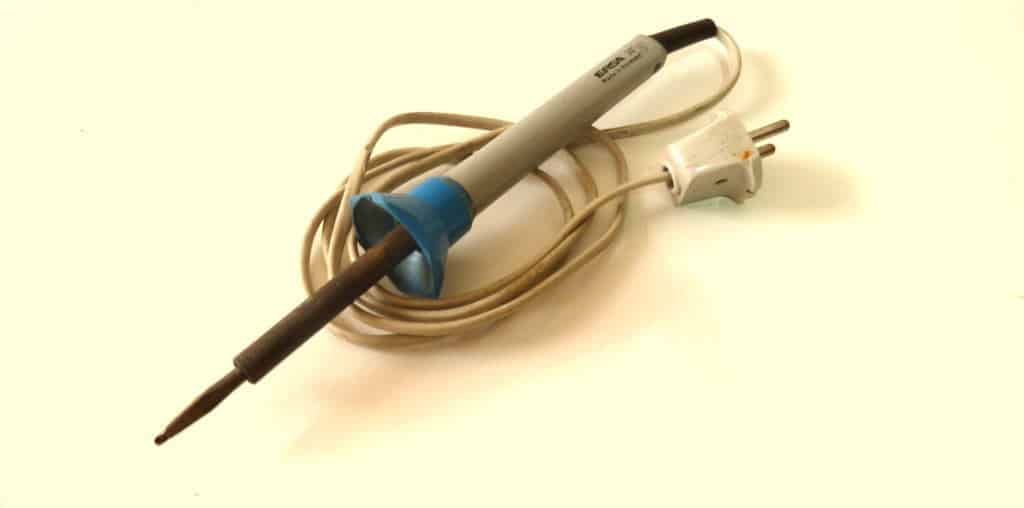
I have an old ERSA-30 soldering iron that I inherited from my dad. It’s designed for the European 220V wall plug. Therefore I used an adapter to make it fit the Mexican wall plug. It’s not a converter, just a simple mechanical adapter that lets me plug my European plugs into the Mexican plugs.
I wanted to solder some stuff, so I plugged it in and waited…
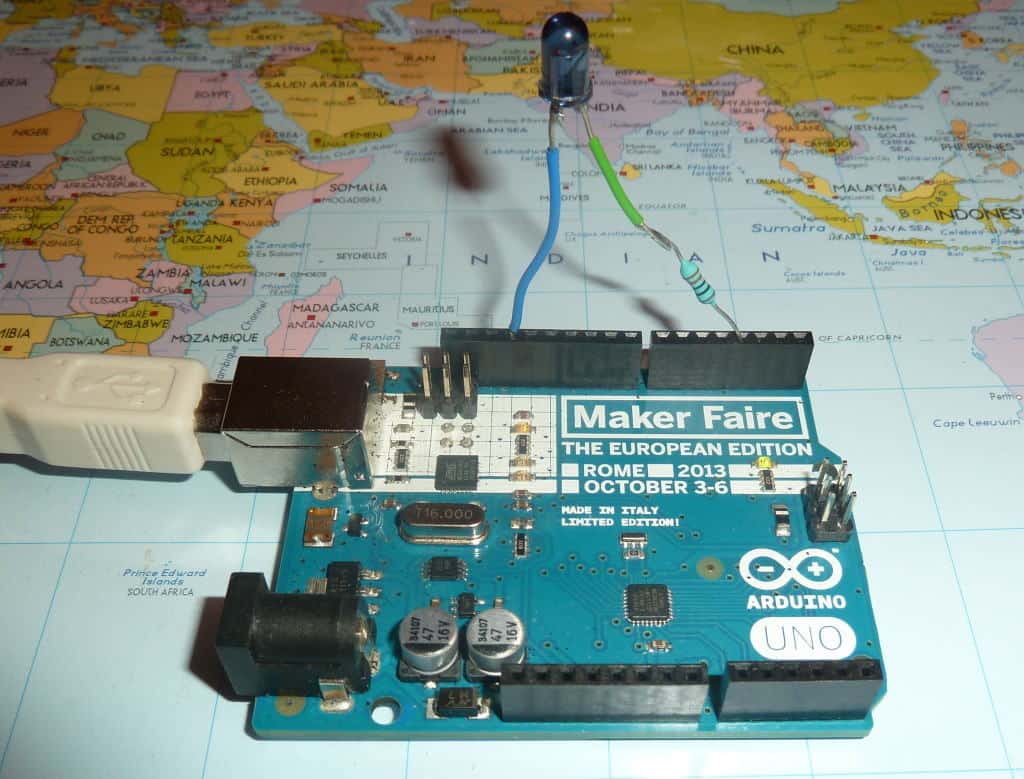
In this tutorial, I am going to show you exactly how to make an Arduino remote control. You can use this project to combine functions from different remote controls and make your super-awesome dream remote control!
A remote control sends out an infrared (IR) code when you push a button. The gadget you point the remote control at will receive this IR code. To make your own Arduino remote control, you need to first copy the IR code from an existing remote control using an IR receiver.
To create our remote control we need to:
Get the button code from the original remote
Make a remote-control program
Upload our program to the Arduino
We will use these components for our Arduino project:
A plastic project box is nice to have to make your project look better. This has always been one of my weaknesses. I can make a really advanced circuit, but when it comes to package it, I have some kind of disability.
Luckily there are some tools out there for people like me.
Here are three methods of making a plastic project box for you circuit:
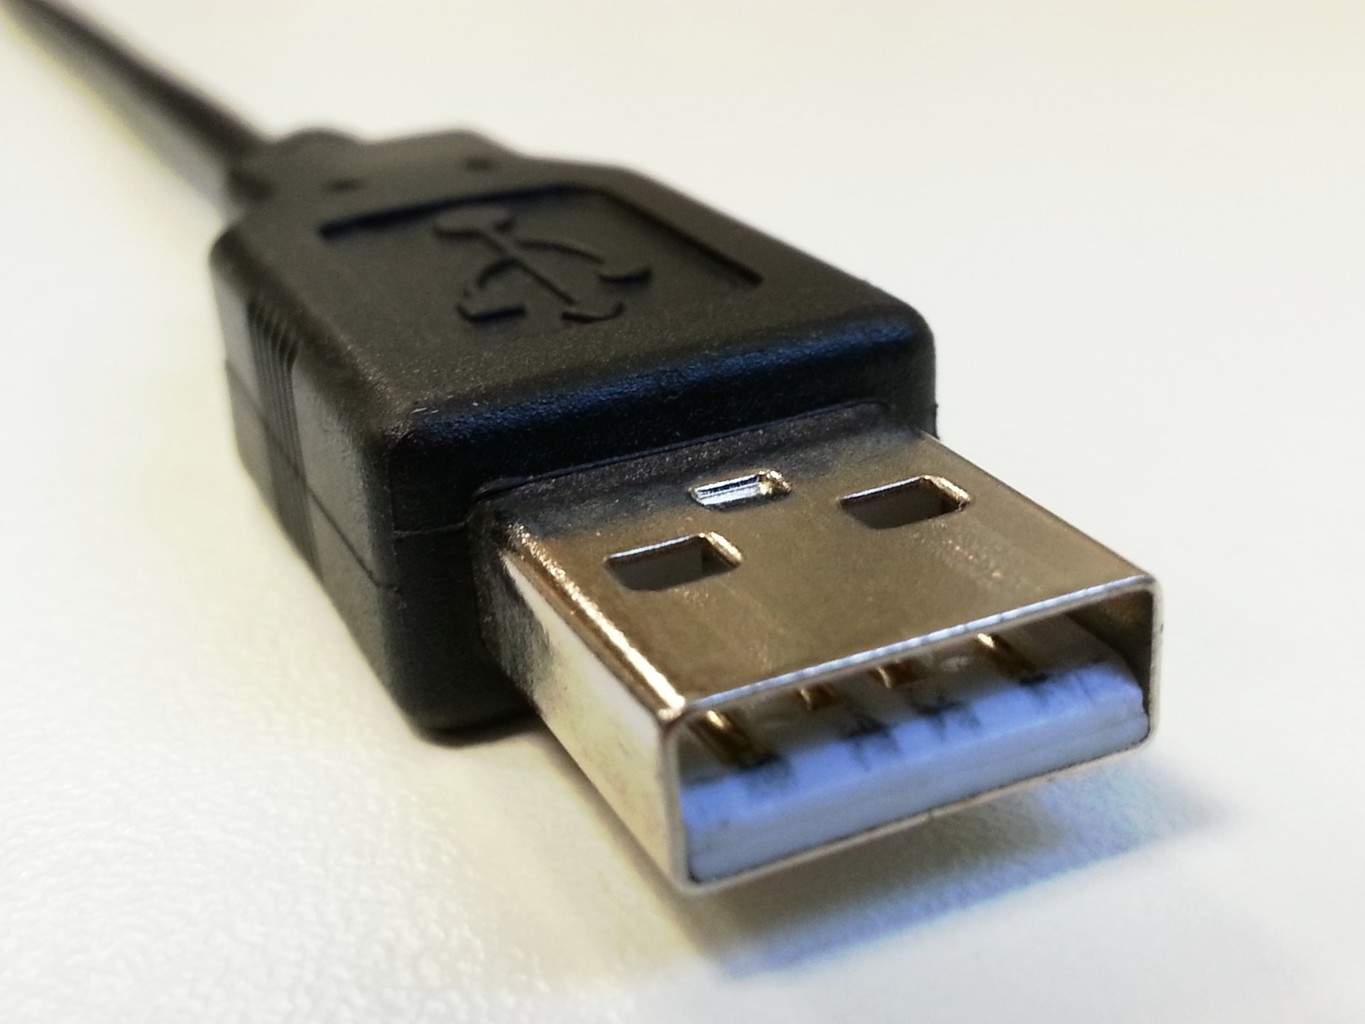
Using a USB circuit is the most common method for communicating between devices and computers.
In the old days usually people used the parallel port or the serial port. But these ports are becoming more and more rare. And on laptops they are almost non-existent.
But all computers have USB ports.
Yeah, and USB stands for Universal Serial Bus just in case you didn’t know ;)
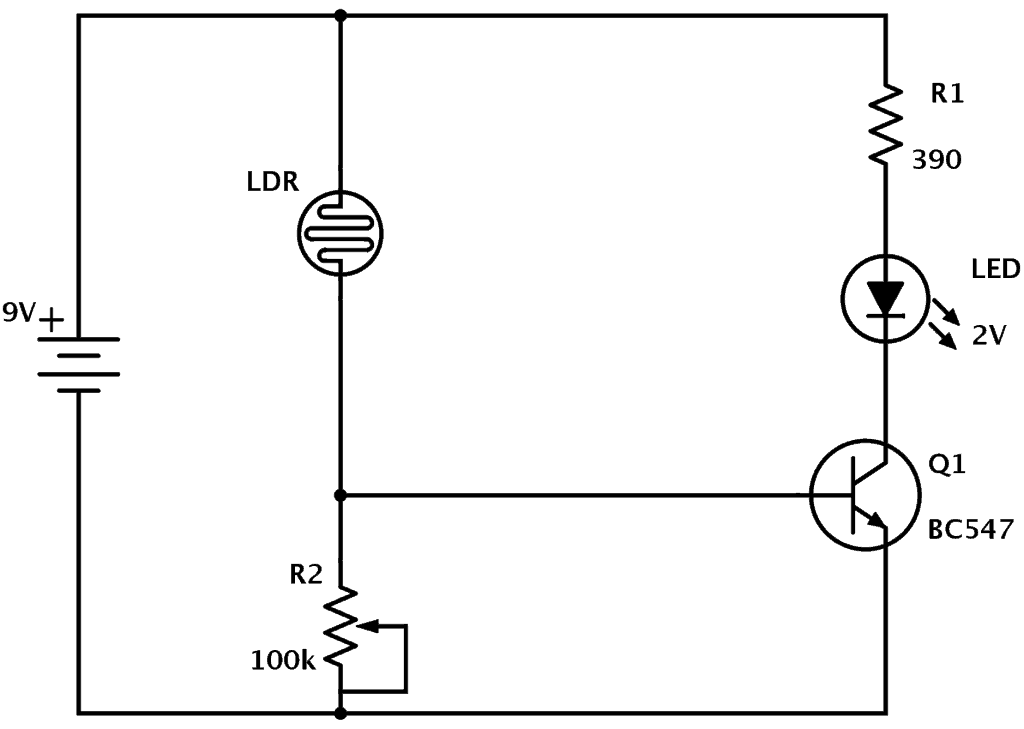
This LDR circuit diagram shows how you can make a light detector. An LDR or “Light Dependent Resistor” is a resistor where the resistance decreases with the strength of the light.
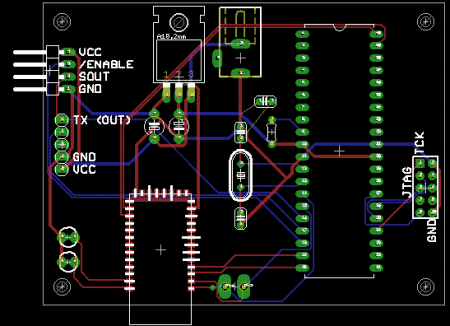
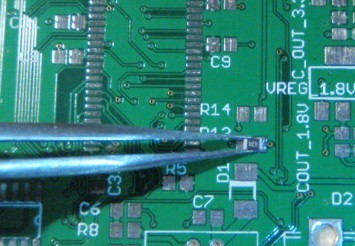
When you design a circuit board, you need to follow the PCB design rules of your manufacturer. These rules are the limits of the machine that makes the circuit boards.
The first time I looked at the rules I got really bummed out because it seemed so freakin’ complicated.
“Why can’t they just make my PCB???”
After a while I calmed down and had a look at what I was up against. And it wasn’t that bad after all ;)
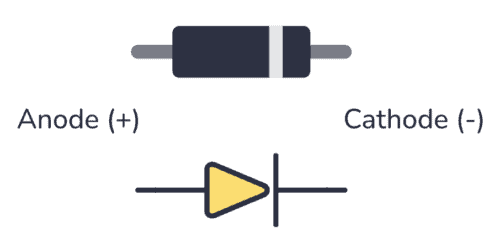
A diode is a component that only conducts electricity in one direction. It is commonly used to convert from alternating current (AC) to direct current (DC).
Several types of diodes exist. And it can be a bit confusing if you have never worked with diodes before.
I would like to share the most standard types of diodes that are commonly used by hobbyists.
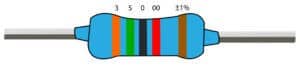
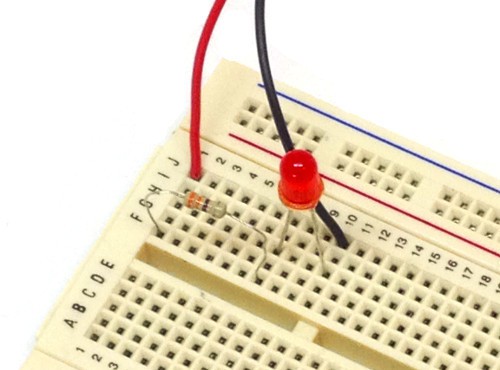
A current limiting resistor is a resistor that is used to reduce the current in a circuit.
A simple example is a resistor in series with an LED.
You would usually want to have a current limiting resistor in series with your LED so that you can control the amount of current through the LED.
If too much current is going through your LED, it will burn out too fast. If too little current is going through it, it might not be enough to lit the LED.
Using a microcontroller board is a simple way to get started using microcontrollers in your projects. You will get a development board with a microcontroller and all the components needed to make it work.
This means you can focus on your idea instead of the details around setting up a microcontroller circuit.
And usually the schematic diagram is provided so that you can easily incorporate the microcontroller in your own circuit later on.
I often use a microcontroller board when I want to test a new microcontroller. Or when I want to make a prototype.
I wanted to write a little bit about some of the boards I have used.
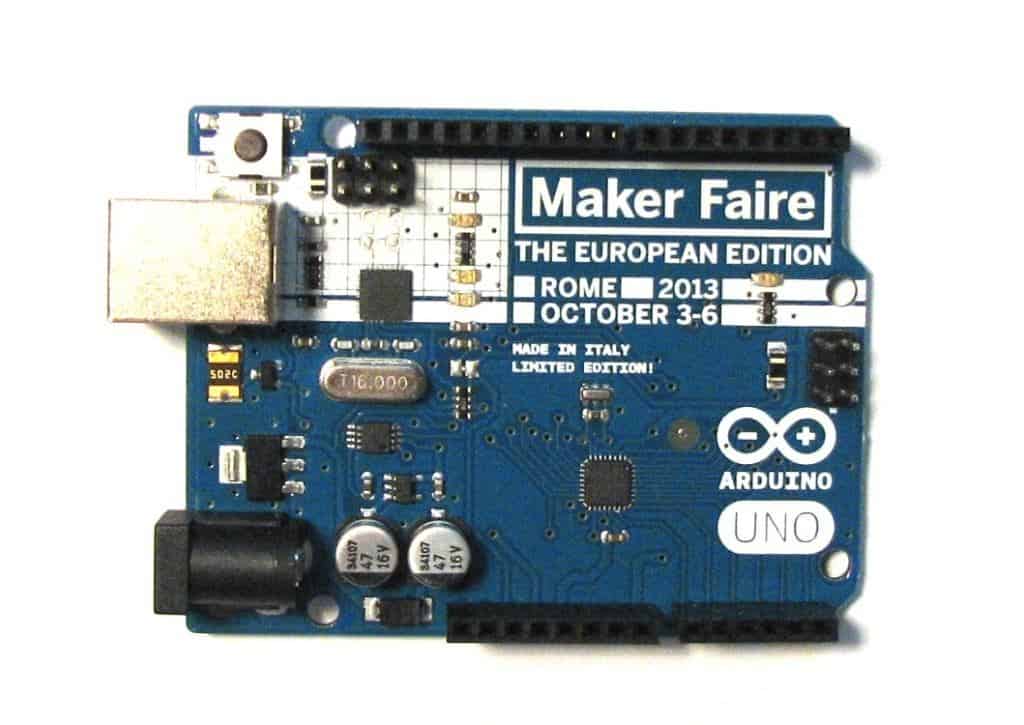
If you haven’t started Arduino programming yet, it’s about time. The Arduino is a microcontroller board originally made for Interaction Design students in Italy. It was specifically developed to make it easy to start programming microcontrollers – even if you have no technical background.
I loved learning about the microcontroller basics when I was studying. It meant I could start taking advantage of microcontrollers in my electronics projects. It kind of felt like with this knowledge, I was unstoppable. I could build ANYTHING!
And it is actually true. Microcontrollers are powerful components. They let you write programs to control your electronics. Combine this knowledge with how to build your own circuit boards, and you’re gonna make amazing things.
By using a microcontroller in your project you will have access to a vast amount of functionality from the tips of your (programming) fingers.

.jpg)