If you haven’t started Arduino programming yet, it’s about time. The Arduino is a microcontroller board originally made for Interaction Design students in Italy. It was specifically developed to make it easy to start programming microcontrollers – even if you have no technical background.
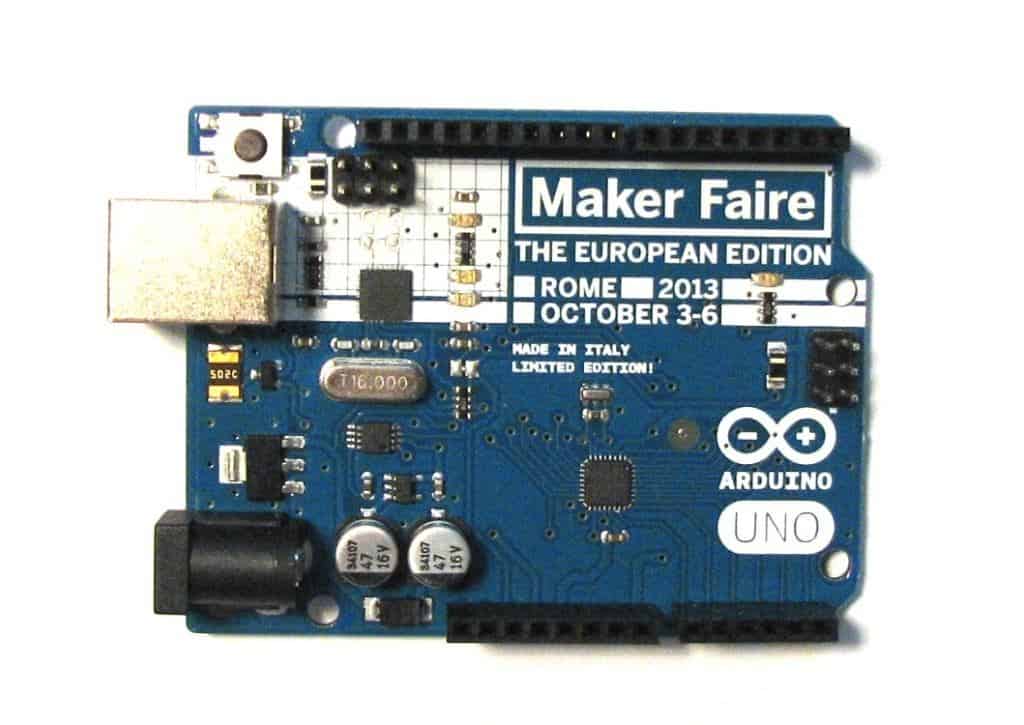
It’s an extremely useful tool. Both for beginners and more advanced circuit builders. It makes it simple to build really cool projects like your own remote control.
Arduino programming is done in three simple steps:
- Write your Arduino code
- Compile/verify your Arduino code
- Upload the code to your board
It is similar to microcontroller programming, but much simpler since it’s all done through the Arduino IDE.
Write Arduino Programming Code
Start by writing your Arduino code. You can either write something from scratch, find complete code or modify existing code. Copy this code into the Arduino IDE.
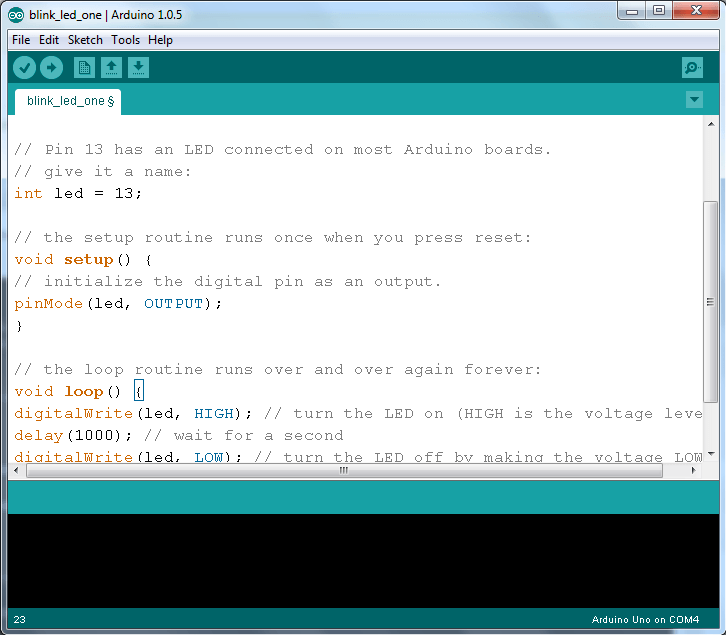
Here is a simple blink-led code that you can start with if you want to start with something simple:
/*
 Blink
 Turns on an LED on for one second, then off for one second, repeatedly.
 This example code is in the public domain.
 */

// Pin 13 has an LED connected on most Arduino boards.
// give it a name:
int led = 13;

// the setup routine runs once when you press reset:
void setup() {
// initialize the digital pin as an output.
pinMode(led, OUTPUT);
}

// the loop routine runs over and over again forever:
 void loop() {
 digitalWrite(led, HIGH); // turn the LED on (HIGH is the voltage level)
 delay(1000); // wait for a second
 digitalWrite(led, LOW); // turn the LED off by making the voltage LOW
 delay(1000); // wait for a second
 }
You can find lots of code examples for Arduino programming on the Arduino website if you want to make something more advanced.
Compile Your Code
The next step is to compile your code. You do this from the Arduino IDE. If you used the code above, it should look something like this:
Basic Electronics for Arduino Makers
Learn the basics that every Arduino maker should know, and it'll open you up to a world of possibilities! Sign up for my circuit tips by email and I'll send you the eBook:
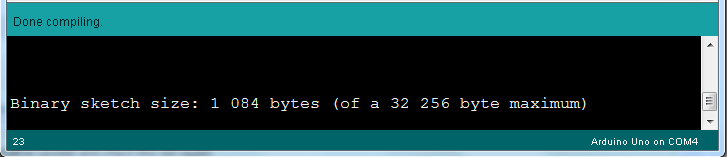
To compile your code click the “Verify” button on the toolbar.
If everything goes smoothly, you should see something like this:
Upload Your Compiled Code To Your Arduino Board
Now that you have compiled your code, all you need to do is to upload it to your board.
Make sure:
- your board is plugged in
- you have selected the right port from the “Tools->Serial Port” menu
- you have selected the correct board model from the “Tools->Board” menu
Now, click the “Upload” button.
The Arduino programming is complete =)
Your compiled code is uploaded to your board and should start running immediately. If you used the code example from above you should see your LED blinking.
More Arduino Tutorials
Basic Electronics for Arduino Makers
Learn the basics that every Arduino maker should know, and it'll open you up to a world of possibilities! Sign up for my circuit tips by email and I'll send you the eBook:
how to connect arduino board to the PC??
How to write a program to do different tasks at different voltage inputs? or to use as a voltage regulator switch?
I’m trying to get a NEC chip programmed to replaced in my faulty car indash DVD player, the only fault is teh microprocessor is pulsing on one side, i found the same chip replacement but also found out that once it was put it would not work unless it was “Flashed” then inserted onto the pcb again, Is there a way to copy the info from the old microprocessor to the new replacement? Note: the unit has since being discontinued and the only thing i could get from the manufacturer was the schematics of the unit in a number of files detailing diagrams and schematics galore. I hope you have a positive reply or could point me in the right direction .
regards
Kevin Naidoo ~ RSA
Hey Kevin,
I have never used a NEC chip, so I don’t know. But I’m guessing it’s going to be hard to get the program out from the chip.
Best,
Oyvind
Do you have a well explained tutorial video for arduino programing?
I have an Arduino course on my membership site http://ohmify.com/
Best,
Oyvind
What coding language does Arduino use?
It’s c/c++