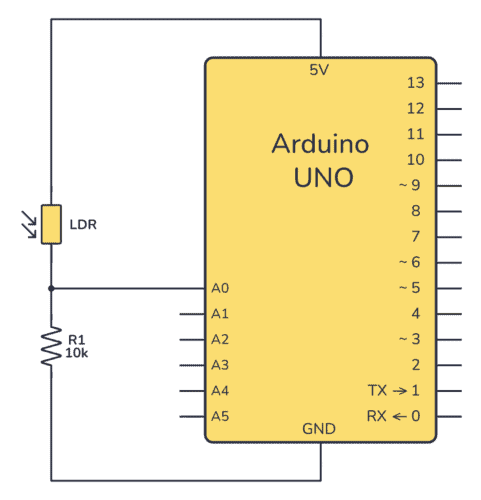
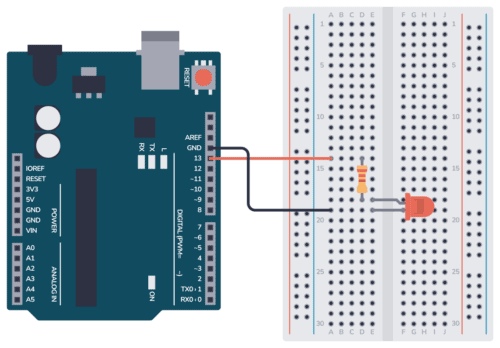
This Arduino Light sensor circuit is a simple example that shows you how to connect light sensors such as photoresistors, photodiodes, and phototransistors, to an Arduino.
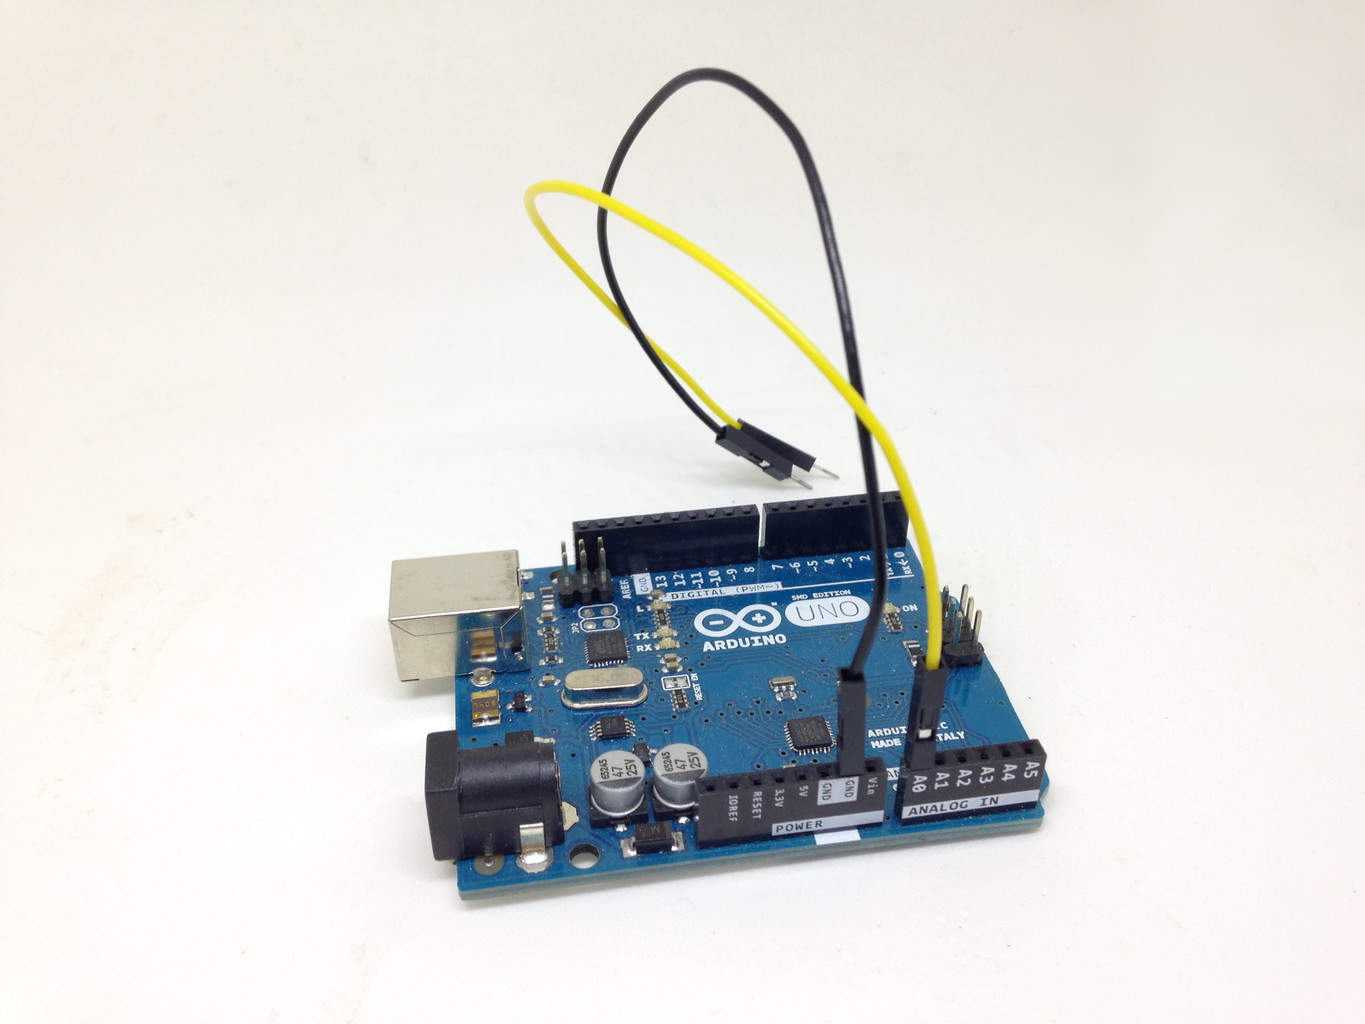
In this quickstart guide, you’ll learn how to connect a photoresistor to an Arduino board and read out the voltage. You’ll first use the Serial Monitor to learn about how the light sensor behaves, then you build a circuit that automatically turns on a light when it gets dark.
This is a great practice circuit when you’re learning Arduino. The code is straightforward and the light sensor connections are simple.
Parts Needed
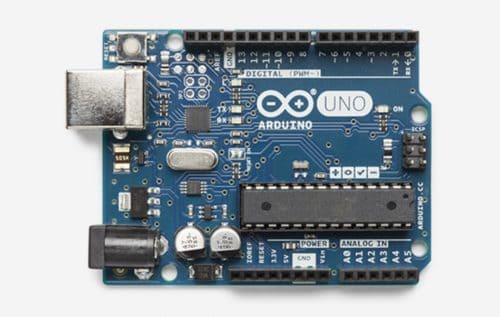
- Arduino Uno
- Breadboard (and some breadboard wires)
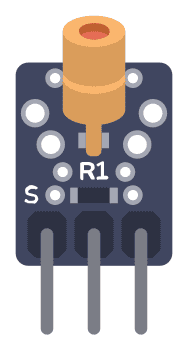
- Photoresistor – also called Light Dependent Resistor (LDR) *
- Resistor 10 kΩ
- Wires
* A photodiode or phototransistor will also work.

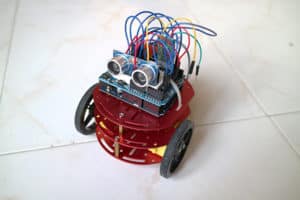


 We made progress on our robot this week! Check out the video at the end of this post.