 In the video below I will show you how to build an Arduino oscilloscope in 2 minutes using only 7 lines of code.
This is possible because of an update in the Arduino software.
New to Arduino? Check out What Is Arduino?
In the newest version of the Arduino software, there’s a tool that makes it super easy to build a simple oscilloscope!
It’s called Serial Plotter and it works like this:
It listens on a serial port, and it plots every number that it sees.
That means, to create an oscilloscope, all you need to do is to write code that prints out the voltage value from an analog input, and the arduino plotter will take care of the rest.
I only used 7 lines of code to make this work!

Get Our Basic Electronic Components Guide
Learn how the basic electronic components work so that circuit diagrams will start making sense to you.
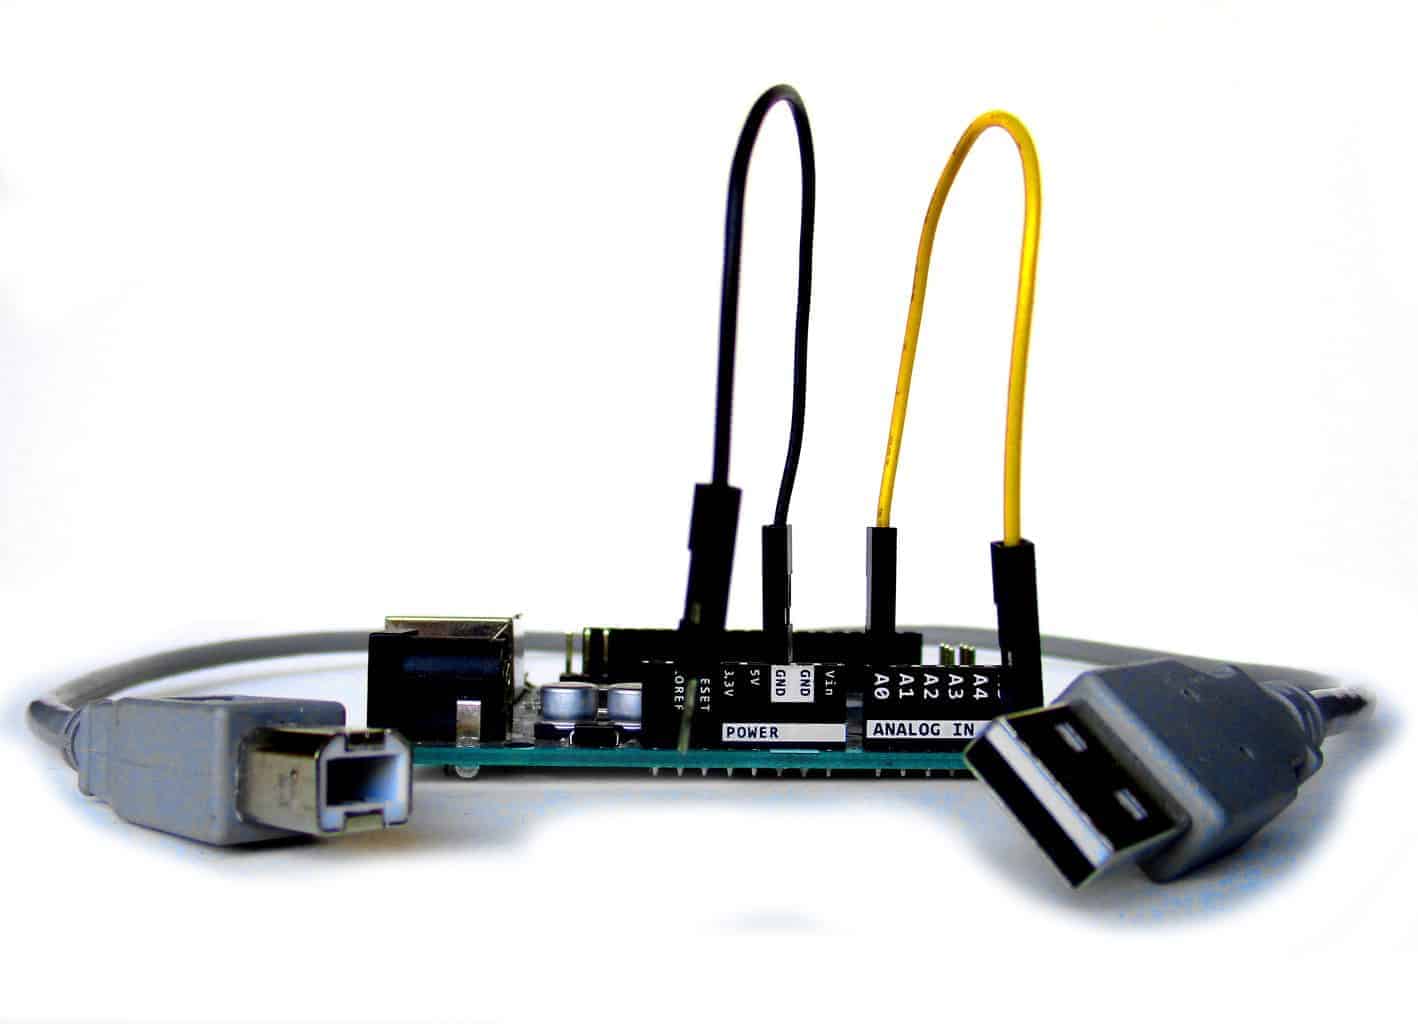
The analog input of the Arduino UNO can only take up to 5V. Make sure you don’t go over this limit as you may damage your Arduino.
If you need to measure a higher-volt signal, you can use a voltage divider.
Measurement Rate Issue
I chose the baud rate of 115200. This is the number of bits per second. To send a character over the serial port, you usually need 10 bits. 8 bits for the character in addition to one start bit and one stop bit.
So, that gives me a speed of 11520 characters per second.
The numbers to plot are written in text. So, the number 800 is sent as an “8”, then “0”, then “0”. That is three characters.
Let’s simplify and say that all numbers are between 100 and 999. Then, the maximum number of measurements this oscilloscope can do per second is 11520 divided by 3, which is 3840. This is called the sampling rate.
You can only measure frequencies that are up to half of the sampling rate. Half of 3840 is 1920. Which means you can measure frequencies up to about 1.9 kHz with this oscilloscope.
Another problem with this oscilloscope is that for measurements that give a number of below 100 or above 999, you have fewer or more than 3 characters to send. This will cause the sampling rate to increase or decrease, and mess up the signal in the Serial Plotter.
You can fix this by making sure you always send 4 characters. Ex “0013” instead of “13”. “0390” instead of “390”.
Comments, questions and improvements
The oscilloscope above is the quickest and easiest way of setting it up. But there are many ways to improve it.
Let me know your questions, or which improvements you would do to make it work for your application in the comment field below!
More Arduino Tutorials
Get Our Basic Electronic Components Guide
Learn how the basic electronic components work so that circuit diagrams will start making sense to you.

