 To get access to more interesting functionality, you need to boot Intel Galileo from an SD-card.
The on-board Linux version running on the Galileo is very limited. So to get access to things like WiFi communication (through Mini-PCIe), you need to install a proper Linux version on an SD-card.
This will also give you access to lots of other libraries, so that you can create programs for example in Python or Node.js.
Another advantage is that if you boot from an SD-card, the sketch you upload to the board does not get erased when you power off the board (as it does if you are using the on-board Linux).
I wanted to try this, because I wanted to build a more advanced weather station than my simple weather station. When booting from an SD-card, I can easily create a web server that runs in the background. Then give easy access to sensor values from an external computer.
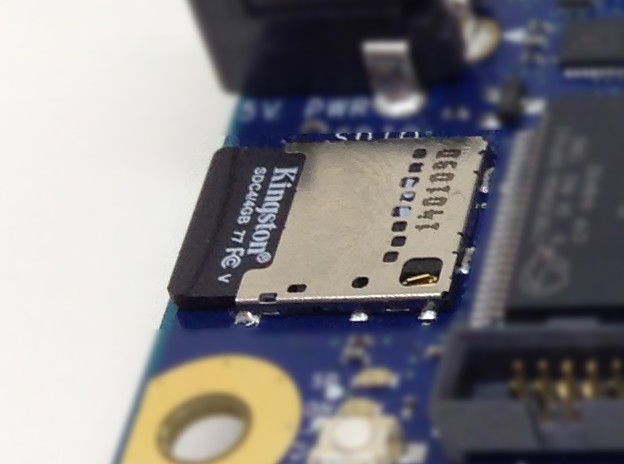
Installing Linux on an SD-card
To install a bootable Linux for Intel Galileo, you need:
- A microSD card that is at least 2GB and no more than 32GB
- A computer with an SD-card reader
Step 1: Download the latest image
First download the latest OS image. You can find it here:
http://iotdk.intel.com/images/iot-devkit-latest-mmcblkp0.direct.bz2

Build Something Practical This Evening
Download this tutorial that shows you step by step how to build an old-school USB charger for your mobile.
Step 2: Extract the compressed image
The first time I tried to extract the file, I got an error message. No explanation, just a message saying there was an error.
So, I tried downloading and installing 7-zip and used this tool to extract instead, and it worked!
Step 3: Format your SD-card
Now, format your SD card to FAT32. If you don’t know how to do that, check out one of the following links:
- Linux: http://www.thegeeky.space/2013/12/how-to-format-sd-card-or-usb-drive-on-ubuntu-12.04.html
- Windows: https://gopro.com/support/articles/sd-card-reformat-on-a-windows-computer
- Mac: https://gopro.com/support/articles/sd-card-reformat-on-a-mac-computer
Step 4: Write the image to your SD-card
On Windows you can use the Win32DiskImager to write to your SD-card.
On Linux and Mac you can use the “dd” command. But be careful that you choose the right disk, so that you don’t overwrite your own hard drive.
sudo dd if=iot-devkit-version-mmcblkp0.direct of=/dev/diskname bs=3M conv=fsync
Learn how to write to SD card with Linux:
https://www.raspberrypi.org/documentation/installation/installing-images/linux.md
Learn how to write to SD card with Mac:
https://www.raspberrypi.org/documentation/installation/installing-images/mac.md
Learn how to write to SD card with Windows:
https://www.raspberrypi.org/documentation/installation/installing-images/windows.md
Booting Intel Galileo from SD-card
Next, put the SD card into the Intel Galileo and power it up.
Does it work?
That’s hard to know…
You need to have a way to communicate with the Intel Galileo, to check if it’s working.
One option is the debug port. It’s a 3.5 mm stereo mini jack plug, that looks like an audio output. But it’s actually an RS-232 port.
To use it, you need to create a cable with a 3.5 mm plug. Then connect it to a RS-232 to USB cable.
I didn’t have that.
BUT, I found a sketch you can upload to access the Linux console through the Arduino Serial Monitor. The following discussion thread shows you how to do that:
https://communities.intel.com/message/222211#222211
It works, but I read that it’s a bit buggy, so it’s probably better to get a proper cable or connect with ethernet before trying to install things like a web server.
In my next tutorial, I’ll show you how to install a web server on the Intel Galileo when it is running from the SD-card.
Check out more Intel Galileo projects
More Circuits & Projects Tutorials

10 Simple Steps to Learn Electronics
Electronics is easy when you know what to focus on and what to ignore. Learn what "the basics" really is and how to learn it fast.

why is there image 0 and image 1 files, which file have to be installed?